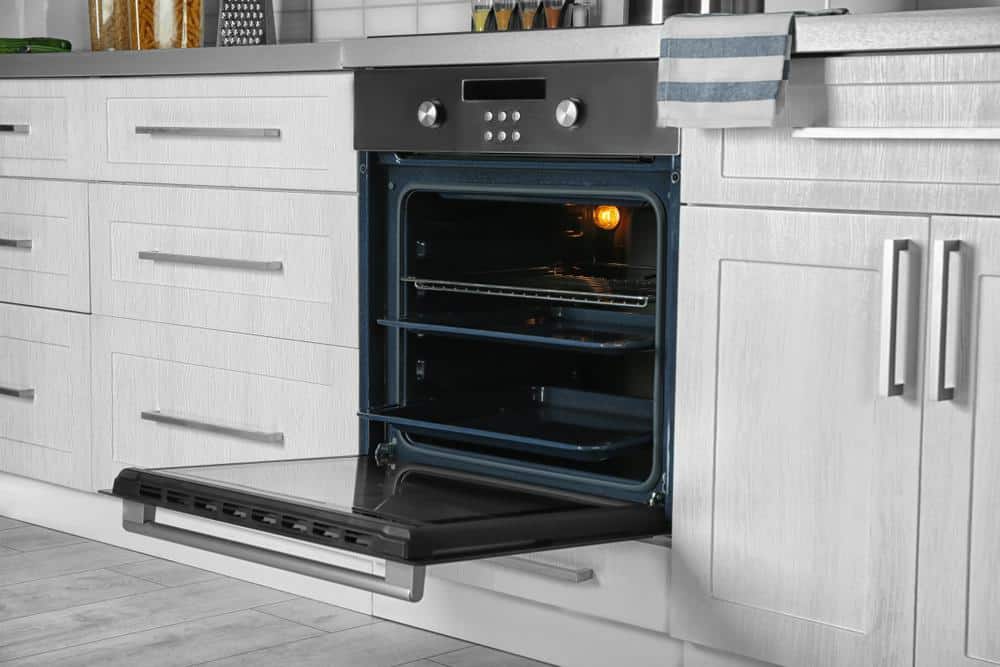
When it comes to maintaining your GE oven, one of the tasks you may need to undertake is replacing the light bulb. It may seem like a minor component, but a functioning light bulb is essential for monitoring your cooking and ensuring perfectly baked or roasted results. In this comprehensive guide, I’ll walk you through the process of replacing a GE oven light bulb, including safety precautions, necessary tools, how to choose the right bulb, step-by-step instructions, and troubleshooting tips.
To replace a GE oven light bulb, first ensure the oven is cool and power is disconnected. Remove the oven racks and the bulb cover at the back of the oven. Unscrew the old bulb counterclockwise using a cloth or oven mitt. Screw in the new, compatible bulb clockwise until it’s secure. Replace the bulb cover, restore power, and test the oven light.
Safety First
Before starting the replacement process, it’s important to follow some basic safety measures:
- Ensure the oven is completely cool to prevent burns.
- If your oven has an Oven Light On/Off pad, turn off the oven light.
- Disconnect power to the appliance by unplugging the power cord or turning off the circuit breaker.
- Wear protective gloves or use a dry cloth when handling the light bulb to protect from potential broken glass and oil damage, especially with halogen bulbs.
Tools Needed
The good news is that replacing an oven light bulb doesn’t require any special tools. You’ll just need a new light bulb that is compatible with your oven model. More on that later.
Identifying the Right Replacement Bulb
It’s crucial to replace the old bulb with a compatible one. GE ovens typically use one of the following types of bulbs:
- Appliance bulb: Use a new 40-watt appliance bulb. Do not use a standard 40-watt bulb.
- Halogen bulb with 2 straight pin terminals: Use a new 120/130-volt G6.35 bulb; not to exceed 50 watts.
- Halogen bulb with 2 looped terminals: Use a new 120/130-volt G9 bulb; not to exceed 50 watts.
To find the specific bulb type for your oven model, refer to your owner’s manual or the label on the old bulb. You can find replacement bulbs online or at appliance parts stores.
Step-by-Step Instructions for Replacing the Bulb
Here’s a detailed step-by-step guide on how to replace your GE oven light bulb:
- Disconnect power: Unplug the oven or turn off the circuit breaker.
- Remove oven racks: This gives you more space to work.
- Locate and remove the bulb cover: Usually located at the back of the oven. Turn it counterclockwise to remove.
- Remove the old bulb: Use a cloth or oven mitt to unscrew the old bulb counterclockwise.
- Install the new bulb: Screw the new bulb in clockwise until it’s firmly in place.
- Replace the bulb cover: Align the tabs with the socket, push it on, and give it a quarter turn.
- Restore power and test: Plug the oven back in or turn on the circuit breaker, and test the oven light to ensure it’s working properly.
If the light still doesn’t work, there may be an issue with the bulb housing or socket, and professional repair may be necessary.
Ensuring the Longevity of the New Bulb
To ensure the longevity of your new bulb, always handle it with a cloth or gloves, especially if it’s a halogen bulb. The oil from your fingers can damage the bulb and shorten its lifespan. Also, use the bulb with the correct wattage and voltage as specified for your oven.
Common Challenges
While the process is straightforward, you might encounter some challenges, such as difficulty removing the old bulb or the new bulb not working. If the bulb is hard to remove, try using a piece of rubber (like a rubber glove) for a better grip. If the new bulb isn’t working, double-check that it’s compatible with your oven model and that you’ve screwed it in properly.
In conclusion, learning how to replace your GE oven light bulb can save you time and money. With the right bulb and a few simple steps, you’ll be back to cooking with a well-lit oven in no time. Happy baking!
Frequently Asked Questions
Can I use a higher wattage bulb than recommended for my GE oven?
No, it’s not advisable to use a higher wattage bulb than recommended. This could potentially damage the socket and the oven’s electrical system. Always follow the bulb specifications for your specific oven model.
Can I replace the oven light bulb while the oven is still warm?
It’s best to wait until the oven is completely cool before changing the light bulb. Handling a hot bulb can be dangerous, and there’s also the risk of burns from the oven itself.
My oven light doesn’t turn on even after replacing the bulb. What could be the problem?
If your oven light still doesn’t work after replacing the bulb, there might be an issue with the bulb socket or the electrical connection. In such cases, it’s best to consult with a professional appliance repair technician.
Can I use LED bulbs for my GE oven?
LED bulbs are not typically recommended for ovens. Ovens generate a lot of heat, and this can shorten the lifespan of an LED bulb or even cause it to fail prematurely. Stick to the recommended bulb types for your specific oven model.
Where can I find the specific bulb type for my GE oven?
The specific bulb type for your oven is usually listed in the owner’s manual. If you don’t have the manual, you can also look at the label on the old bulb or contact GE customer service with your oven’s model number.

