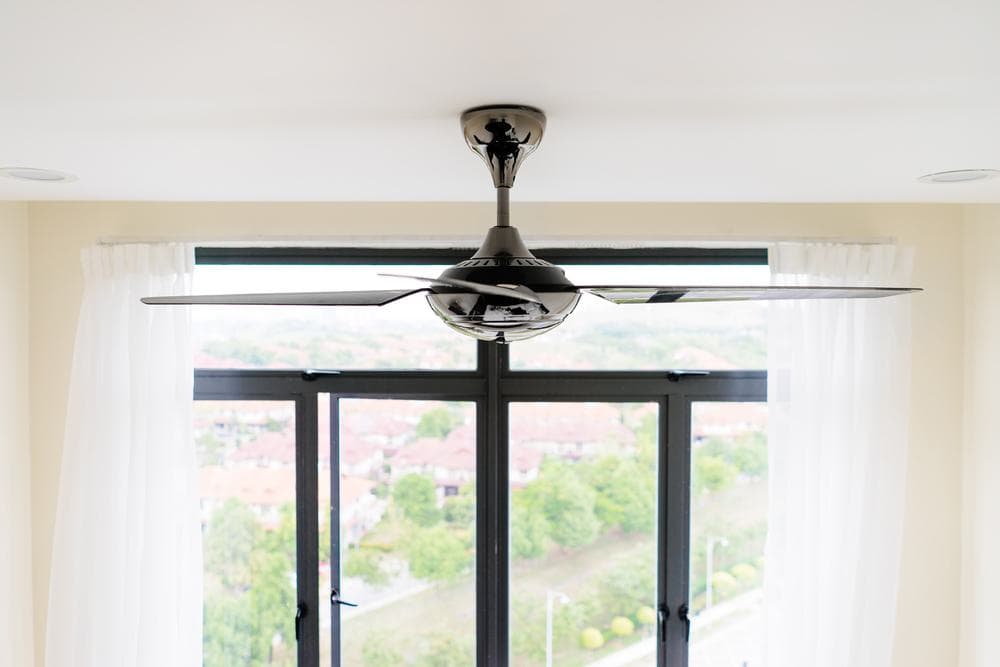
Windmill ceiling fans are gaining popularity due to their rustic charm, energy efficiency, and unique design. If you are considering adding one to your space, this comprehensive guide will help you understand how to make a windmill ceiling fan, the materials required, safety measures, and some common troubleshooting tips.
Making a windmill ceiling fan involves gathering necessary materials like a motor, blades, blade arms, downrod, mounting hardware, and possibly a remote control or light kit. The process includes preparing the ceiling, assembling the fan, installing the downrod, hanging the fan, wiring the fan, installing the light kit (if applicable), pairing the remote control, and testing the fan. Remember to follow safety measures and consult a professional if needed.
What You’ll Need
Before beginning, gather the necessary materials. Here are the key components required to build a windmill ceiling fan:
- Motor: This is the heart of the ceiling fan and powers the rotation of the blades. Windmill ceiling fans typically use a super-efficient DC motor.
- Blades: Windmill ceiling fans have a signature 18-blade design with a special angle for optimal airflow. The blades are usually made of lightweight materials like aluminum or weathered oak.
- Blade arms, Downrod, Mounting hardware: These components connect the blades to the motor assembly and secure the fan to the ceiling.
- Remote control: Windmill ceiling fans often come with a remote control that allows you to adjust the fan speed, direction, and light dimming (if a light kit is installed).
- Optional light kit: Some windmill ceiling fans can be fitted with a light kit, which can be controlled using the remote control’s dimming function.
Remember that windmill ceiling fans are complex and may require professional installation. Many models come fully assembled and ready to use.
Building Your Windmill Ceiling Fan
Once you’ve gathered your materials, follow these steps to assemble and install your windmill ceiling fan:
- Prepare the ceiling: Make sure the current electrical or junction box is rated for ceiling fan use. If it’s not, replace it with one that is. These metal boxes are usually labeled and designed to house extra wiring and support the weight of the fan.
- Assemble the fan: Attach the fan blades to their brackets and screw the brackets to the bottom of the motor.
- Install the downrod: Attach the downrod assembly to the motor by sliding the downrod into the yoke on top of the motor assembly.
- Hang the fan: Lift the fan motor with the blades and place it into the hanger bracket, rotating the ball until the groove engages the tab on the hanger bracket.
- Wire the fan: Connect the fan’s wires to the corresponding wires in the junction box, using wire connectors.
- Install the light kit (if applicable): If your windmill ceiling fan comes with a light kit, follow the manufacturer’s instructions to install it.
- Pair the remote control (if applicable): If your fan comes with a remote control, follow the manufacturer’s instructions to pair the remote with the fan.
- Test the fan: Turn the power back on and test the fan to ensure it’s working correctly.
Safety Measures
When building and installing a windmill ceiling fan, it is essential to consider several safety measures to ensure proper operation and prevent accidents. Here are some important safety tips:
- Ensure proper support: Mount the fan on an outlet box or supporting system marked acceptable for fan support of 50 lbs (22.7 kg) or less, and use mounting screws provided with the outlet box.
- Maintain sufficient clearance: The fan blades should be at least 7 feet off the ground and blade tips should be at least 30 inches from the nearest wall or other obstruction.
- Use a safety cable: All windmill fans should be provided with a safety cable, which is required to be attached to the building structure during installation.
- Follow electrical safety guidelines: Disconnect the power by removing fuses or turning off circuit breakers before installation.
Troubleshooting Tips
You might encounter some common issues or need troubleshooting tips when building or using a windmill ceiling fan. Here are some potential problems and solutions:
- Fan not starting: Ensure the electricity is turned on at the circuit breaker, check all connections in the wiring of the fan at the ceiling, and make sure the ON/OFF power switch on the wall control is in the ON position.
- Noise: Allow a day or two for the fan to “run-in” at medium or high speed. Tighten all screws attaching blades to blade arms, and check that the wiring and/or wire nut connectors are not resting against the canopy, possibly vibrating while the fan is on.
- Wobbling: Remove any dirt or debris from the fan blades, and tighten any loose screws on the light kit, fan blades, and motor coupling.
If you still experience issues after trying these troubleshooting tips, it’s recommended to consult a qualified technician or electrician for further assistance.
Conclusion
Building a windmill ceiling fan can be a rewarding project that adds a unique touch to your home or workspace. By following the steps provided and taking necessary safety measures, you can install a windmill ceiling fan that not only cools your space but also adds to its aesthetic appeal.
Frequently Asked Questions
Can I use a different type of motor for my windmill ceiling fan?
While you technically could use a different type of motor, it’s highly recommended to use a super-efficient DC motor. These motors are designed for optimal performance and energy efficiency in windmill ceiling fans.
Can I adjust the number of blades on my windmill ceiling fan?
Windmill ceiling fans are typically designed with an 18-blade design for optimal airflow. While it’s technically possible to adjust the number of blades, it may affect the fan’s performance and aesthetic. It’s recommended to stick with the standard 18-blade design.
What is the purpose of the safety cable in windmill ceiling fans?
The safety cable is an important component that ensures the fan is securely attached to the building structure. This helps to prevent accidents by ensuring the fan won’t fall, even if the main attachment point fails.
Can I install a windmill ceiling fan outdoors?
While some windmill ceiling fans are designed for outdoor use, not all models are suitable for this. Make sure to check the manufacturer’s specifications before installing a fan outdoors. Weather conditions can affect the fan’s performance and longevity.
How do I clean my windmill ceiling fan?
Cleaning a windmill ceiling fan involves removing any dust or debris from the fan blades. You can use a feather duster or a vacuum with a brush attachment. Always ensure the fan is switched off and fully stopped before cleaning.

