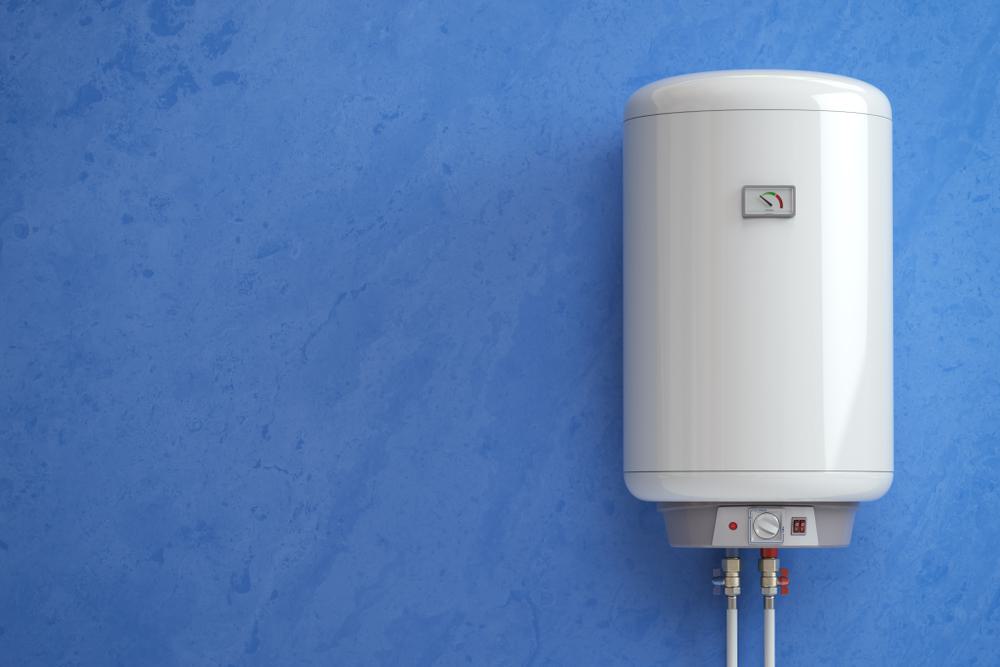
In this comprehensive guide, we will cover the essential steps on how to install a dielectric union on a water heater. A dielectric union is an important component that prevents galvanic corrosion, a process that can occur when two dissimilar metals, such as copper and galvanized steel, are connected directly. By installing a dielectric union, you can prolong the life of your water heater and avoid potential leaks and damages.
To install a dielectric union on a water heater, first turn off the water supply and power source. Wrap pipe sealing tape over the steel pipe threads and attach the dielectric union body. Slide the union nut and plastic insulator onto the copper pipe, then attach and solder the copper adapter. Assemble the dielectric union by sliding the rubber gasket between the union nut and body, and tighten. Finally, turn the water supply back on and check for leaks.
What is a Dielectric Union?
A dielectric union is a special adapter or fitting used in plumbing systems to isolate the connection of dissimilar metals. It works by providing a barrier between the two different metal pipes, disrupting the flow of cathodic current while still allowing the fluid to flow. This barrier prevents the galvanic reaction that causes corrosion and rust, especially in areas where copper supply water piping lines meet the galvanized steel pipe hookups of a hot water tank.
Why Install a Dielectric Union?
Without a dielectric union, rust and corrosion can occur, leading to potential water leaks and damage to the piping system. Furthermore, it can reduce the overall lifespan of the water heater and lead to increased maintenance and repair costs. In many jurisdictions, it is required by building codes to use dielectric unions when connecting dissimilar metal pipes.
Materials and Tools Needed
Here’s what you will need to install a dielectric union on a water heater:
- Dielectric union
- Pipe wrench or adjustable pliers
- Pipe cutter
- Emery cloth or sandpaper
- Flux, solder, and propane torch (if soldering is required)
- Pipe joint compound or plumber’s tape
- Adjustable wrenches
Step-by-Step Guide
Before starting, make sure to turn off the water supply to the water heater and disconnect the power source.
- Prepare the Steel Pipe: Wrap several layers of pipe sealing tape over the threads of the steel pipe connected to the water heater.
- Install the Dielectric Union Body: Attach the threaded end of the dielectric union body to the steel pipe. Turn the union clockwise and tighten it with a pipe wrench.
- Prepare the Copper Pipe: Slide the union nut over the end of the copper pipe with the open threaded end facing out. Also, slide the orange color plastic insulator over the copper pipe.
- Install the Copper Solder Adapter: Attach the copper solder adapter onto the copper pipe and sweat the solder adapter to the copper pipe using a propane torch. Keep the plastic insulator as far away from the torch as possible to avoid melting it. Allow the pipe to cool.
- Assemble the Dielectric Union: Slide the rubber gasket between the union nut and the union body. Use a pipe wrench to turn the union nut clockwise, tightening it onto the union body.
- Check for Leaks: Once the dielectric union is installed, turn the water supply back on and check for any leaks around the union. If there are no leaks, reconnect the power source to the water heater.
Safety Precautions
When installing a dielectric union, it’s important to follow these safety precautions:
- Ensure that the dielectric union is installed correctly to prevent corrosion and potential leaks.
- Always refer to the water heater’s instruction manual for specific safety guidelines and installation procedures.
- Ensure that your installation complies with local building codes and regulations.
- Install a new pressure relief valve when replacing a water heater, rather than reusing the old one.
- If you have a gas water heater, ensure that the vent pipe is the proper size to vent exhaust fumes. An improperly sized vent pipe can cause a backup of exhaust fumes.
Conclusion
Installing a dielectric union on a water heater is a task that can be accomplished by a homeowner with some DIY plumbing experience. However, if the task seems too complicated, it’s always best to hire a professional plumber. By properly installing a dielectric union, you can extend the lifespan of your water heater and avoid the potential for harmful corrosion and leaks.
Frequently Asked Questions
What is the purpose of the plastic insulator in a dielectric union?
The plastic insulator in a dielectric union serves to maintain the separation between the two dissimilar metals in the union. It prevents the metals from making direct contact, thereby inhibiting the galvanic corrosion process.
Can I use a dielectric union on any type of water heater?
Yes, dielectric unions can be used on any type of water heater that uses metal piping. They are especially beneficial when there is a connection between dissimilar metals, such as copper and galvanized steel.
How often should I replace a dielectric union?
The lifespan of a dielectric union can vary depending on the quality of the union and the water conditions in your area. However, it’s a good practice to inspect them during your regular water heater maintenance checks. If you notice signs of corrosion or leaks, it’s time to replace them.
Is it necessary to use a pipe sealing tape when installing a dielectric union?
Yes, using pipe sealing tape (also known as Teflon tape or plumber’s tape) is recommended when installing a dielectric union. It helps to seal the threads of the pipe and prevent any potential leaks.
Can I install a dielectric union myself, or should I hire a professional?
If you have some DIY plumbing experience, you can install a dielectric union yourself. However, if you’re not comfortable with the task or if it involves soldering, it’s always best to hire a professional plumber.

