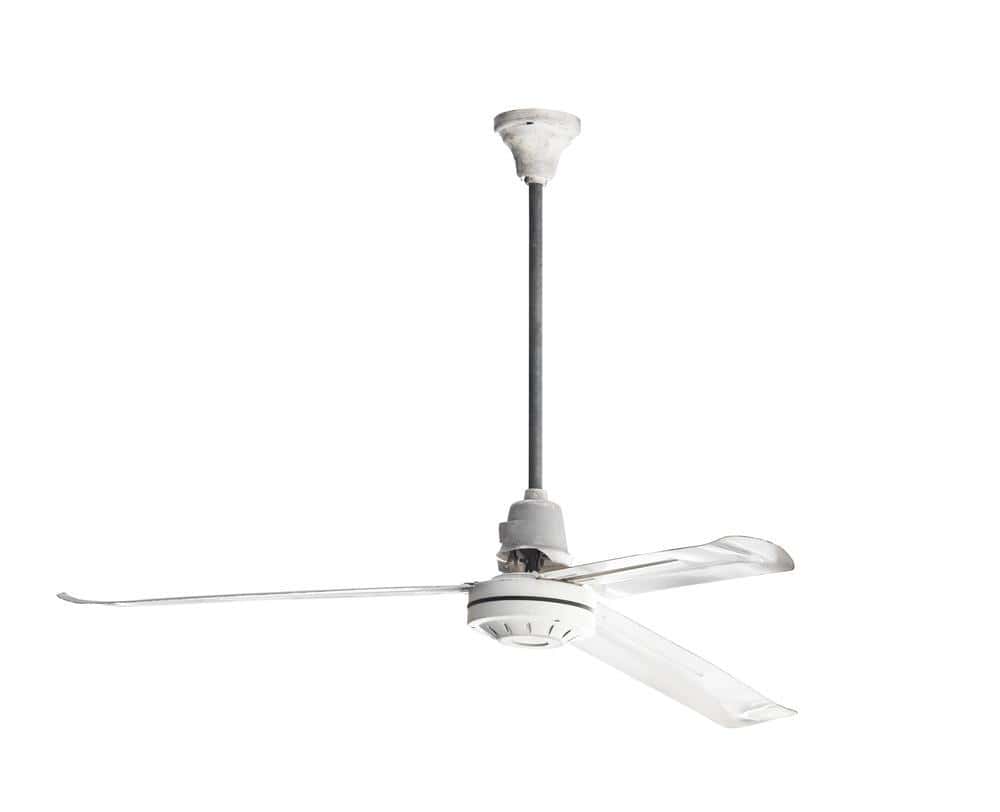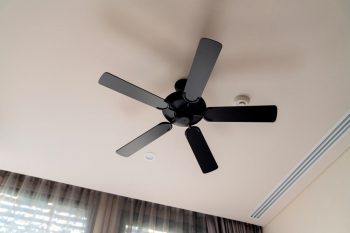
Installing a ceiling fan remote control kit may seem like a daunting task, but with the right tools and a clear understanding of the process, it’s an achievable DIY project. This comprehensive guide will walk you through the entire process, from gathering the right tools to troubleshooting common issues.
To install a ceiling fan remote control kit, start by turning off the power to the fan. Lower the fan’s canopy and insert the remote control receiver, ensuring the antenna end faces out. Connect the wires as per the instruction manual. Reassemble the canopy and program the remote according to the manual. Test the remote to ensure it controls the fan and light functions properly. Always remember to perform routine maintenance checks and follow safety precautions.
Preparing for the Installation
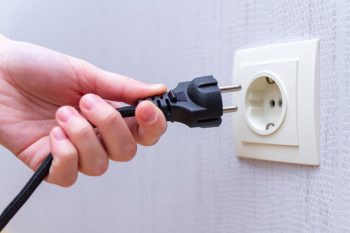
Before starting, turn off the power to the ceiling fan at both the circuit breaker and the wall switch. Gather the necessary tools, which include a 4-in-1 screwdriver, electrical tape, needle-nose pliers, non-contact voltage tester, wire stripper/cutter, and a Phillips head screwdriver.
Installation Process
- Lower the Canopy: The first step in installing a remote control kit is to lower the canopy of the ceiling fan. This is done by loosening a few screws and sliding the canopy down the downrod.
- Install the Receiver: Next, insert the remote control receiver into the mounting bracket or the space inside the fan canopy. Make sure the antenna end faces out and the flat side faces the ceiling.
- Wire Connection: Consult the instruction manual that comes with your remote control kit to understand the wiring connections required. Typically, you will need to connect the black wire (fan motor), blue wire (light), white wire (neutral), and green or bare copper wire (ground).
- Reassemble the Canopy: Once the wiring connections are complete, slide the canopy back up the downrod and secure it with the screws.
- Program the Remote: Insert batteries into the remote control and follow the instructions provided in the manual to pair the remote with the receiver. Test the remote to ensure it controls the fan and light functions properly.
Post-Installation Maintenance
After successfully installing the remote control kit, it’s important to perform routine maintenance checks to ensure its longevity. This includes cleaning the remote control regularly, checking and replacing batteries, inspecting for damage, and storing the remote control in a clean, dry place.
Troubleshooting Common Issues
Despite following the installation process carefully, you may encounter some issues. These can range from insufficient space in the fan canopy to wiring issues or problems with the remote control’s range. Each of these issues can be addressed with a bit of troubleshooting, such as checking the wiring, replacing batteries, or adjusting the DIP switch settings.
Safety Precautions
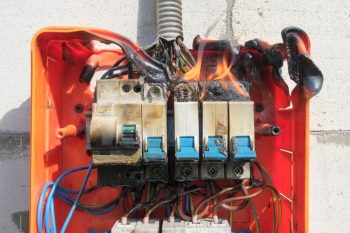
Safety should never be an afterthought when installing a ceiling fan remote control kit. Always turn off the power at the breaker before starting any electrical work, wear appropriate protective gear, and follow the steps outlined in the instruction manual.
By following this comprehensive guide, you can successfully install a ceiling fan remote control kit. Remember, the key to a successful installation lies in understanding the process, having the right tools, and following safety precautions. Happy installing!
Frequently Asked Questions
What if my ceiling fan doesn’t have a canopy?
If your ceiling fan doesn’t have a canopy, you may have a different model of fan. In this case, the receiver might be installed in the base of the fan. Always consult the manual that came with your fan or remote control kit for model-specific instructions.
What is a DIP switch and how do I adjust it?
A DIP (Dual Inline Package) switch is a set of small switches in a dual in-line package that is used to change the operating mode of the device. In a remote control kit, it is used to set the frequency that the remote communicates with the receiver. You can adjust it by using a small pointed object to slide the switches to the desired position, usually indicated in the instruction manual.
What type of batteries does the remote control require?
Most ceiling fan remote controls use small, disc-shaped batteries, often referred to as “button cell” batteries. However, some may use standard AA or AAA batteries. It’s best to check the remote control’s battery compartment or the instruction manual for the correct battery type.
Can I install a remote control kit on any ceiling fan?
Most ceiling fans are compatible with remote control kits, but it’s always best to check the specifications of your fan and the remote kit to ensure compatibility.
What should I do if my remote control’s range is poor?
If you’re experiencing a poor range with your remote control, there could be several causes. First, check the batteries in the remote control and replace them if necessary. Second, make sure the antenna in the receiver unit is not obstructed and is facing outwards. Finally, try repositioning yourself or the fan to reduce any potential interference.


