From fridges, TVs, cookers, and printers, to air conditioners, most homes and offices rely on electricity to power their appliances.
Circuit breakers are essential devices to protect these appliances from irreparable damage. However, a faulty breaker increases the risk of an electrical hazard around the house.
Testing your circuit breakers is a sure way to diagnose any faulty breakers before they become an issue. This post is a simple guide on safely testing a circuit breaker and determining whether it needs repairs or replacement.
If you plan on testing a defective circuit breaker, follow these simple steps:
Unplug the devices connect to the circuit breaker and open the electrical panel.
Secondly, the electrician must inspect the breakers by wiggling them, physically checking them, and listening for odd or weird noises.
Lastly, an expert will test the breaker’s continuity and resistance, voltage rating, and amperage.
Circuit breakers should always be handled with caution. All electrical safety procedures should be followed if you are fixing or testing a breaker in the electrical panel.
What Is a Circuit Breaker?
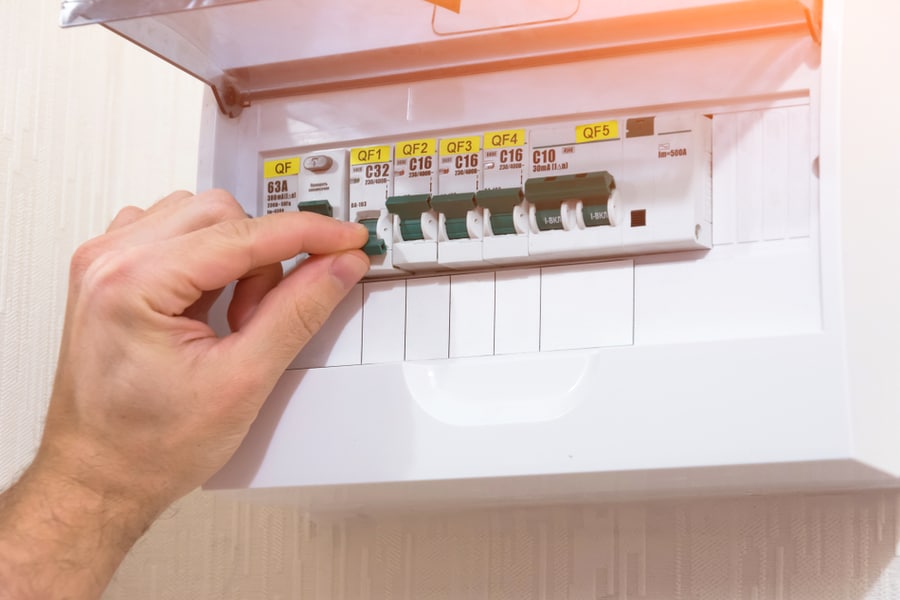
A circuit breaker is an electrical device that protects circuits from damage.
The breakers are essential to cover any electrical systems and appliances around the house or office from overloading or short-circuiting, causing electrocution, fires, or damage to equipment.
The circuit breaker works by tripping a switch and interrupting the current flow within a circuit. Breakers are made from a thermal-magnetic material sensitive to particular electrical conditions.
When the breaker detects a short circuit or overload, the material heats up and bends, causing the switch to trip.
Importance of Testing a Circuit Breaker

We cannot overstate how vital circuit breakers are to ensuring the reliability and safety of electrical systems around the house.
Let us look at why a qualified technician should regularly test the breakers around your home.
- Safety: Testing the breakers allows the technician to replace faulty devices before they become an electrocution or fire hazard.
- Ensure long-lasting electrical systems: By identifying and addressing electrical issues early on, you can ensure your AC is well-protected, preventing damage.
- Prevent downtime: A defective circuit breaker interrupts the current flow, resulting in unexpected outages.
- Comply with safety regulations: Lastly, safety regulations and building codes require regular inspection of electrical systems, including circuit breakers.
How To Safely Test Your Circuit Breaker
Now that we know why testing your circuit breaker is essential let us look at the safe procedures to follow when testing.
Testing a breaker is not a DIY project without the right tools or knowledge.
You should always let a qualified electrician inspect and maintain the electrical panel if you suspect an issue with a circuit breaker.
1. Unplug Devices
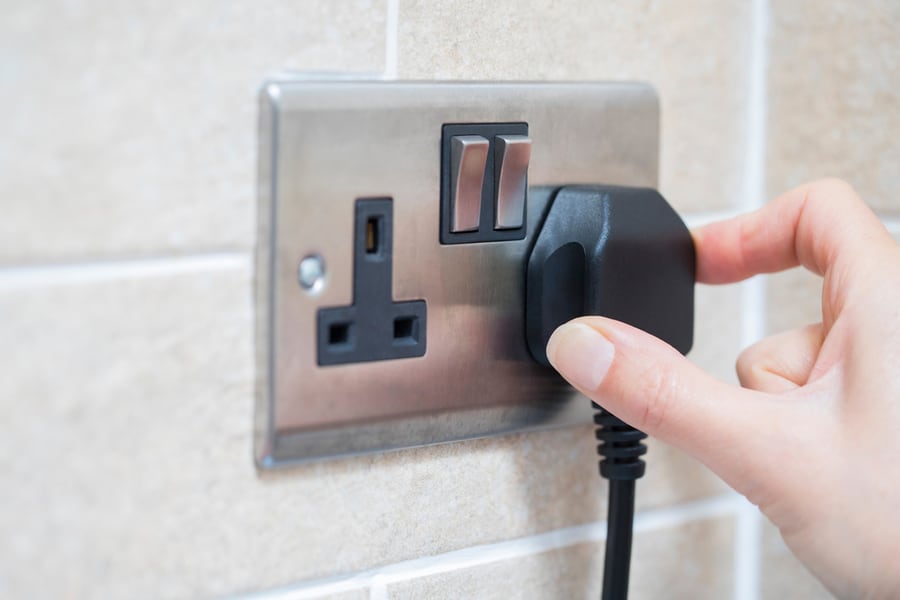
The first thing you need to do is to unplug any electrical devices connected to the circuit breaker.
Testing a breaker can result in a power trip, affecting your devices. For devices that cannot be unplugged, make sure to switch them off before proceeding with the test.
2. Wear Protective Clothing
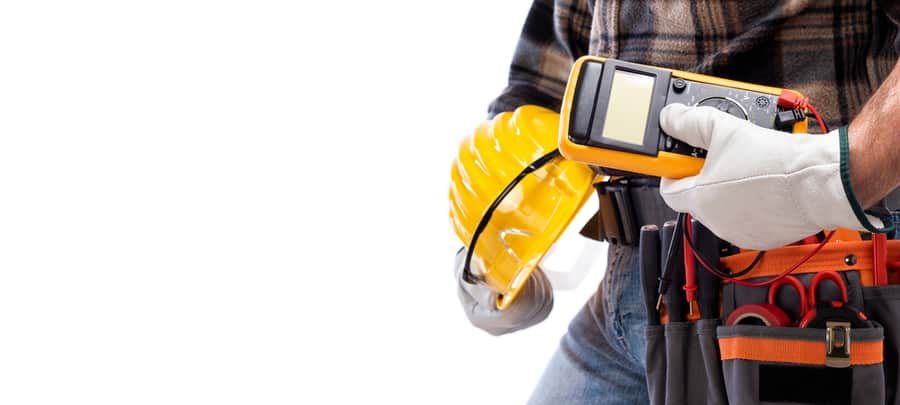
The second thing to do is wear protective clothing. Electrocution and fire hazards are always a risk when dealing with electricity. Likewise, electrical panels feed a lot of voltage throughout the house.
Wearing insulated gloves and footwear is an extra precaution to reduce the risk of shock. Electricians also wear protective goggles to shield their eyes from any sparks or flames caused by faulty wiring or a short circuit.
3. Open the Electrical Panel
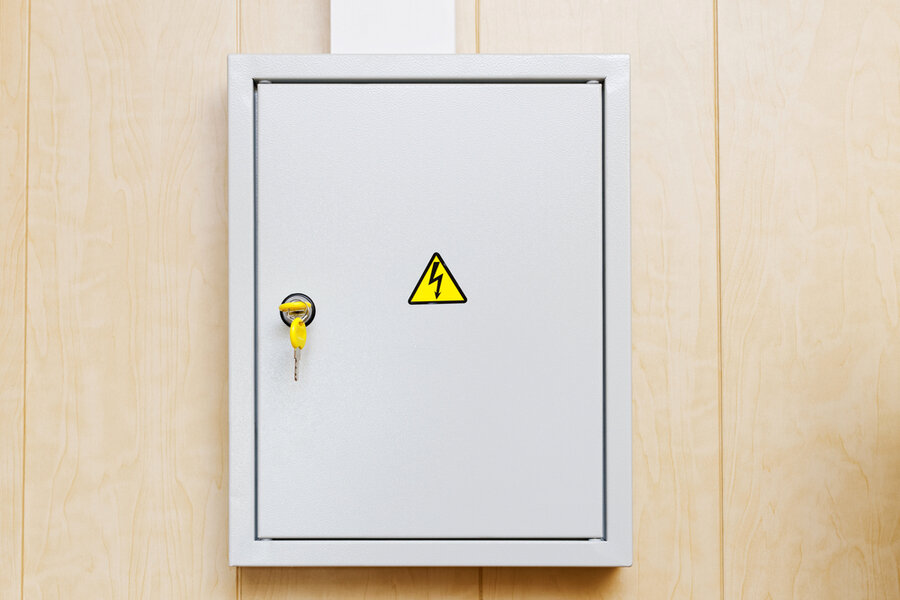
The next thing you need to do is find the electrical panel. Afterward, you must remove the dead front cover that protects and hides the main busbar and live wires.
4. Inspect the Circuit Breakers
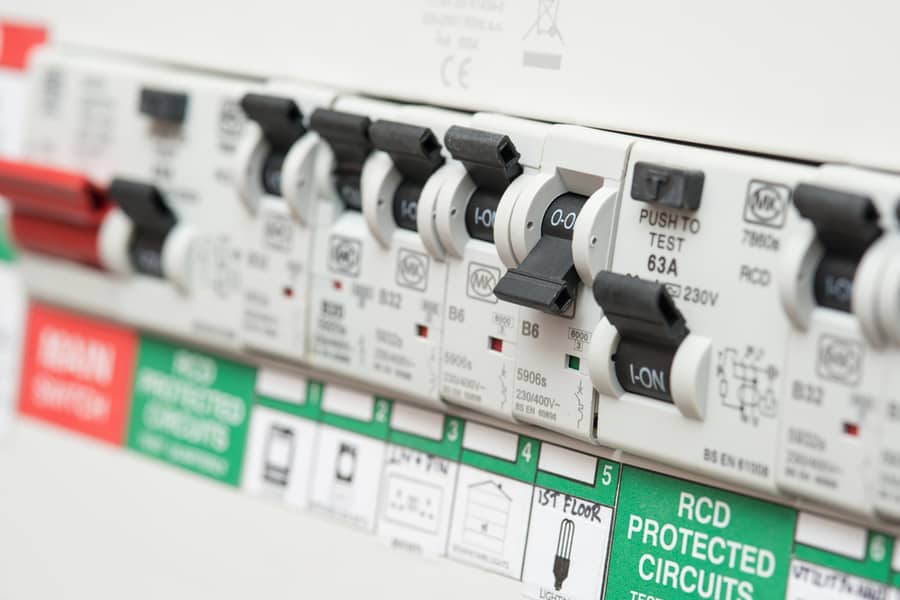
One of the first and simplest tests is physically inspecting the circuit breakers without tools. In this case, the technician will visually inspect the breakers, listen to the noise coming from the electrical panel, and wiggle around the breakers.
If they notice any rusted, worn-out, or broken breakers, this might indicate that they need replacement. Furthermore, sparking noises from the electrical panel or loose breakers might also mean trouble.
5. Test for Continuity and Resistance in a Circuit Breaker
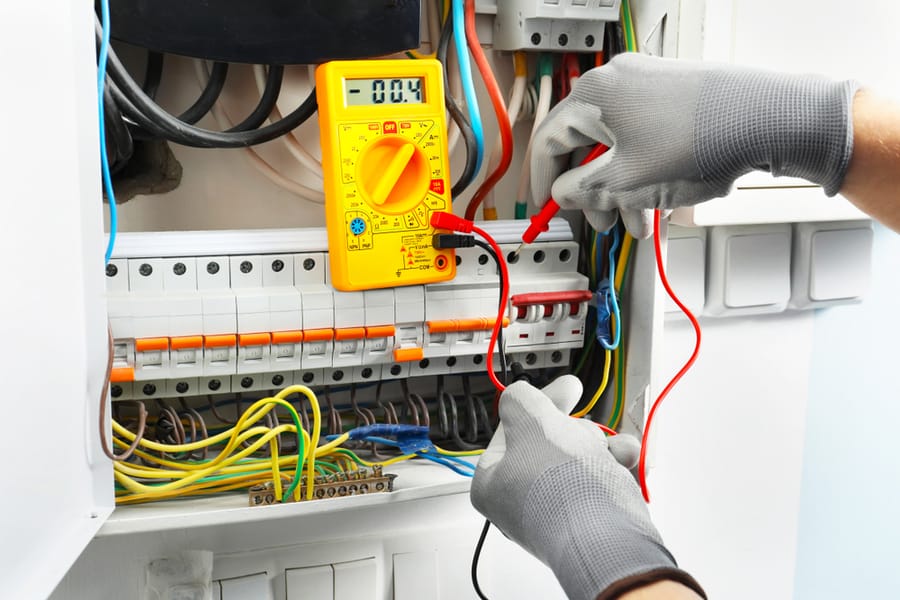
A continuity test checks to see if there is an open or closed electrical path in a circuit. On the other hand, resistance is a measure of the opposition of the current flow with a circuit.
Continuity and resistance are both measured using the same scale. Only a closed circuit or breaker in the “ON” position has continuity or low resistance.
If your breaker is in the “OFF” position and the current still flows, or the breaker is in the “ON” position but no current flows, it might mean the breaker is faulty.
You will need a digital multimeter to conduct a continuity test.
Here are the safety procedures to follow:
- Turn the multimeter dial to the Ohms settings. The setting symbol might differ depending on your device, so we advise checking your user manual.
- Insert the black pole into the COM insert and connect it to the ground wire on the breaker.
- The red pole should be inserted into the voltage insert and connected to the hot wire of the breaker.
- Check the digital reading, and wait for it to stabilize.
- If you have a reading lower than 1, it means you have good continuity or low resistance. However, if your readings are above 1, you might have an issue that must be addressed.
6. Test the Voltage of the Circuit Breaker
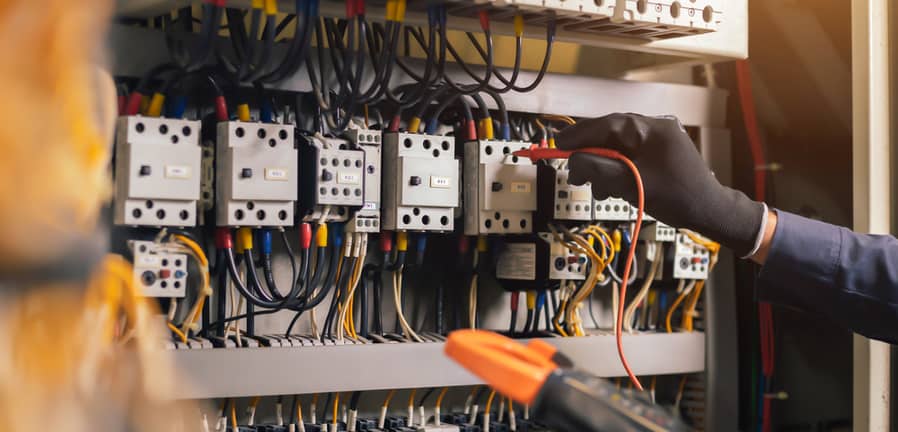
Another test your technician will perform on circuit breakers is the voltage rating. A simple way of thinking about voltage is electrical pressure.
Checking the voltage is vital to ensure your circuit breaker does not exceed the maximum electrical pressure, leading to overheating and fires.
It is important to note that you need a running current in the circuit breaker when doing a voltage test. In addition, the technician should wear protective gloves to reduce the risk of electrocution.
Additionally, the probes should not contact each other during the test.
The voltage on your breaker depends on if you have a single-pole or double-pole breaker. You can perform a voltage test using a multimeter.
Follow these simple steps:
- You need to switch the multimeter dial to AC Voltage settings. If you have an issue finding the setting, consult your user manual.
- Place the black probe into the COM insert in the meter and connect it to the ground wires.
- Next, insert the red probe into the voltage, insert on the multimeter, and connect it to the live or hot wire on the breaker.
- The multimeter should read around 120 volts for single-pole breakers and nearly 240 volts for double-pole breakers.
- If the reading is 0 volts or too low, your breaker must be replaced.
7. Test the Amperage of the Circuit Breaker
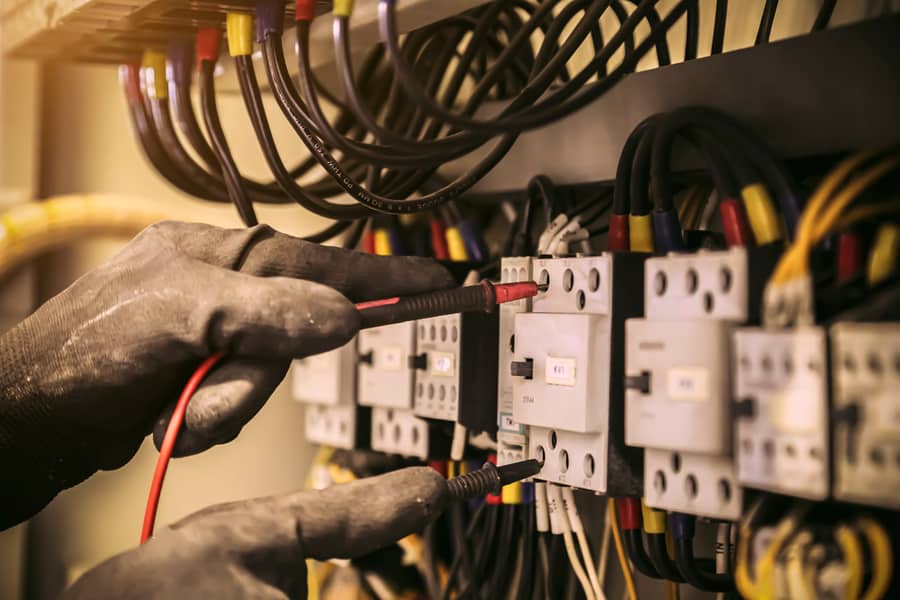
Amperage is the measure of electrons flowing through the circuit. Large devices like washing machines or dryers require more amps to work than small devices.
If a circuit breaker designed for small appliances runs into a high current flow, the breaker trips preventing damage to the device. Additionally, a high current flow can also lead to overheating.
Most circuit breakers have an amp reading on the flip switch. To measure a circuit breaker’s amperage, you will require a multimeter.
Here is a safe guide on what to do:
- First, turn the multimeter dial to the AC Amp settings.
- Next, insert the black probe into the COM insert and connect it to the ground wire on the breaker.
- Next, insert the red probe into the amp insert and connect it to the hot wire on the breaker.
- If the amps are lower or higher than the expected readings on the breaker switch, it might indicate an issue with your breaker.
Conclusion
Circuit breakers are an integral part of any household. That is why it is vital to conduct regular maintenance and testing to ensure the device is working efficiently.
When testing the circuit breaker, the technician needs to unplug any device connected to the breaker and remove the front of the electrical panel.
Afterward, the professional will assess the panel without using tools, then perform a continuity and resistance test, voltage test, and amperage test on the circuit breakers.
Frequently Asked Questions
What Are the Signs of a Bad Circuit Breaker?
Do you suspect that your circuit breaker is going bad?
Here are a few signs to look out for:
- Burning smell.
- Breaker trips frequently.
- Hot circuit breaker.
- Frequent power surges.
- Visible damage to the circuit breaker.
- Sparking or weird noises in your electrical panel.
What Settings Do I Put On a Circuit Breaker on a Multimeter?
The settings on your multimeter depend on what you are testing for in your circuit breaker.
For example, you will use Ohm’s settings for resistance and continuity tests, while a voltage test requires AC voltage settings.
On the other hand, if you are testing for amperage, you should use the Amp settings.


