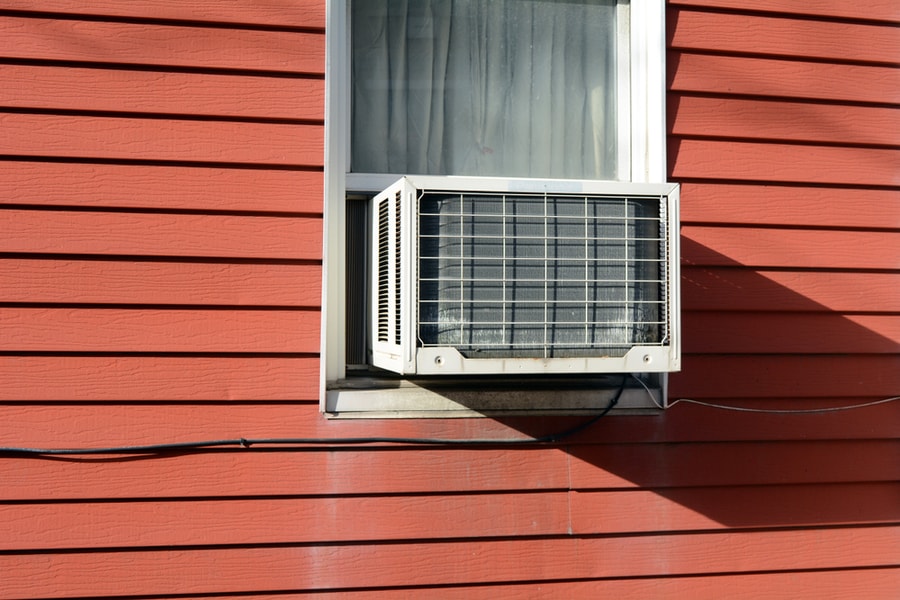
The window-type air conditioner is one of the easiest to install. That’s because it comes as a single unit. So all you really need to do is secure the air conditioner into a window-sized hole in the wall (thus its name), and you’re good to go.
The problem is that people don’t always think about insulation during installation. Unfortunately, cracks around the window air conditioner and the wall supporting it could cause heat to leak and cold drafts to blow in.
Depending on the season, this can overwork your HVAC system and cause electricity bills to soar. So how can you install insulation around an existing window-type air conditioner? Here’s how to do it.
- Identify gaps and openings around the unit before you start.
- Cut slightly longer foam insulation strips to guarantee complete coverage.
- Secure the strips by pressing down and holding them in place for a few seconds.
- For a better seal, you can also cover the exterior edges of the unit.
Although it might seem like a job for professionals, installing insulation around a window-type air conditioner is something anyone can do. All you’ll need is a pair of scissors, measuring tape, and insulating foam seal strips.
How To Install Insulation Around a Window AC
The user manual should provide ample information on insulation and winterizing their air conditioner. Make sure to read through their instructions first before you get started on the job.
If they have specific directions for installing insulation, see to it that you follow those steps.
If you’re not confident installing the foam strips, you can always call an HVAC specialist to do the job for you.
1. Inspect the Edges Around the Unit
You should be able to identify openings around the window air conditioner by having someone shine a light from the outside.
If it’s sunny out and the light is directed towards your unit, you should also be able to see the light trickle in through any openings or cracks.
Another way to identify any gaps would be to place your hand around the edges of the unit. You should be able to feel a draft of cool air passing through where the openings are large enough.
Note these gaps or mark them with a pencil to help you remember where to place your insulation.
2. Measure and Cut the Foam Strips
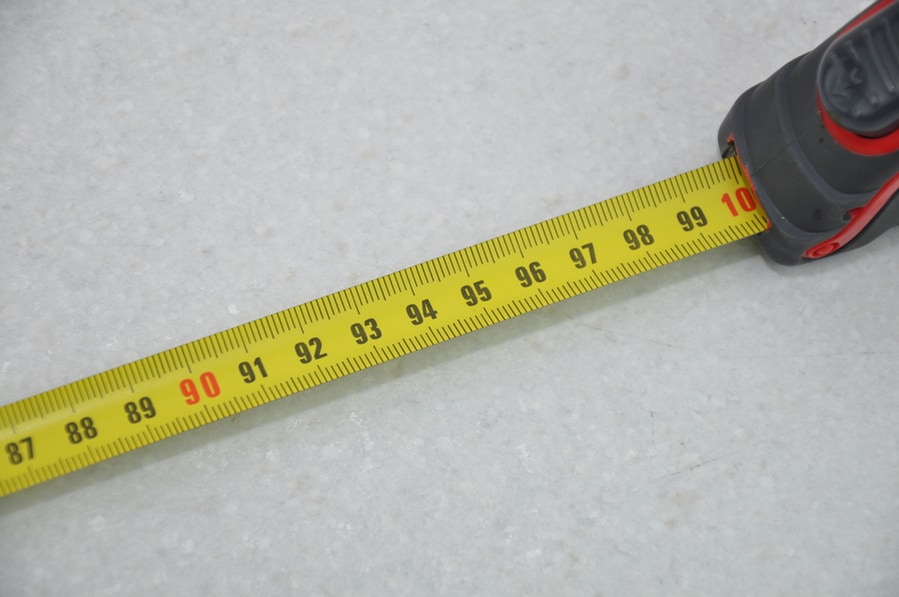
Now that you know the specific target areas and the dimensions around the AC, you can start cutting the foam strips. As a general rule, you’ll want to cut the strips slightly longer than the measurement you got.
Cutting the exact length could leave gaps in the insulation, which may result in leaks nonetheless.
The foam strips can be pushed and squeezed down into crevices pretty easily. So you don’t have to worry too much about the pieces not fitting if you cut too much.
Generally, you should provide an allowance length of about half an inch for each strip.
3. Secure the Strips
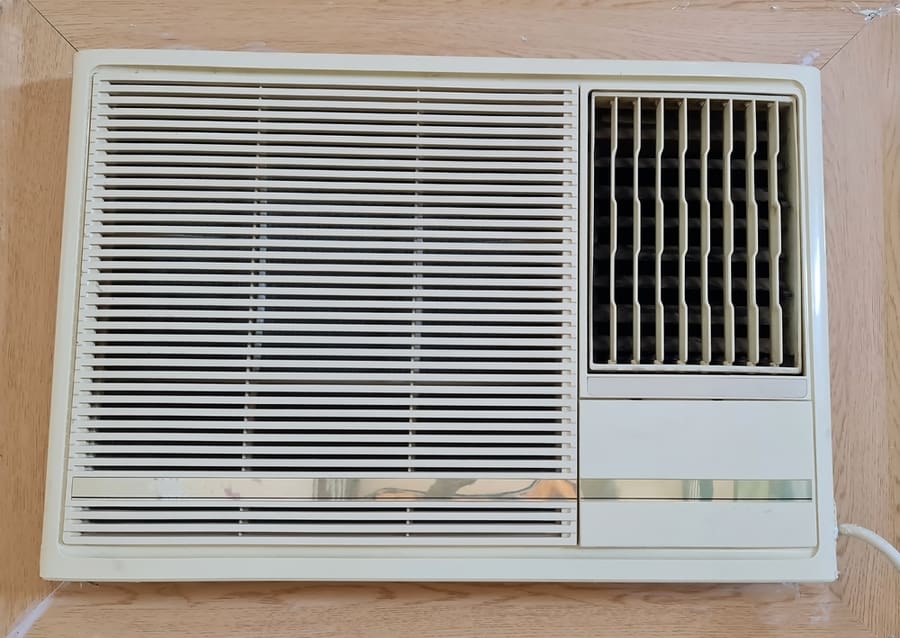
Before you get started, see to it that the surrounding edges of the wall and AC unit are free from dust and debris. Any particles on the surfaces could prevent the foam insulation from sticking properly.
Remove the adhesive backing and secure the strips around the air conditioner, making sure to press down hard where the larger gaps are marked out.
Press and hold the strips in place for a few seconds to ensure that the adhesive makes full contact with the wall and AC.
While the adhesive backing on these strips is typically enough to keep the insulation in place, some owners choose to secure the strips in place with an added layer of tape.
4. Do the Same Outside
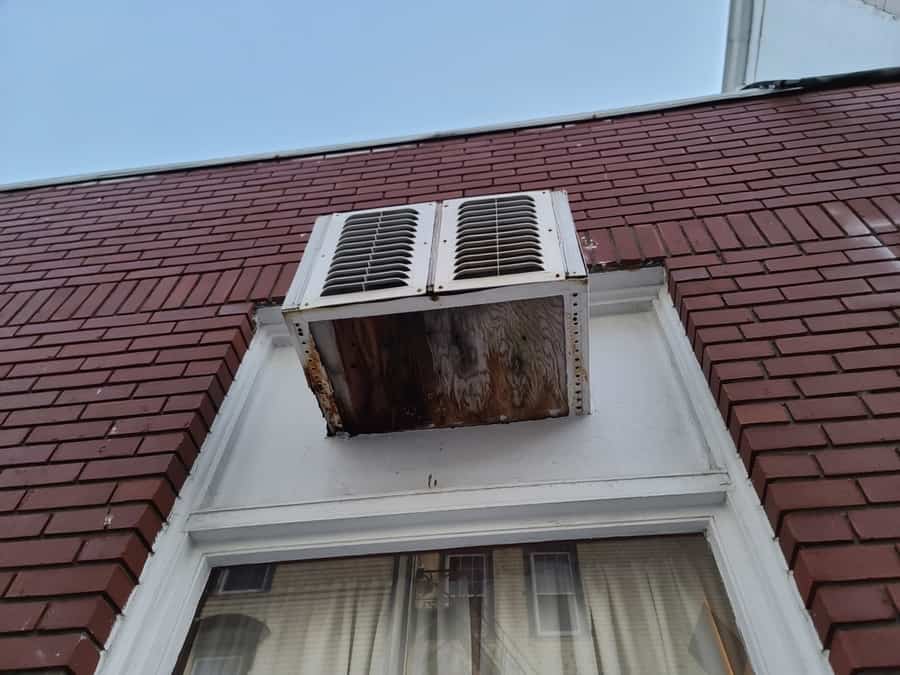
Although it’s not necessary, some people recommend covering the outside of the unit as well. Of course, if you did a proper job on the indoor insulation, then you won’t have to repeat the process outdoors.
But just for good measure, you might want to add foam strips to the unit’s exterior for added protection.
Gaps and openings are usually easier to see from the outside. Place foam insulation around the unit and secure it with heavy-duty outdoor tape. This can secure the seal and ensure all the holes are properly closed.
To test the seal, try the same steps mentioned above. Flashlight or place your hands over the edges to feel for a draft.
If you still see the light shining through a gap or if you feel air leaking through an opening, you can adjust the foam material to properly seal the cracks.
Takeaway
Any cracks around your air conditioning unit could spell trouble for your HVAC system in the summer and winter. Sealing up those gaps prevents unwanted air exchange, especially when you want to closely regulate indoor temperatures.
Installing insulin around a window-type air conditioner is something you can do in one afternoon. So to save yourself from a sky-high electricity bill, make sure to follow these steps and keep your home at the perfect temperature for the season.
Frequently Asked Questions
What Can I Use To Insulate My Window Type Air Conditioner?
Flexible foam insulation material is designed specifically to seal around a window-type air conditioner. You can find the material through most hardware stores.
Some are installed by squeezing the material into the cracks, while others use adhesive backing for a more secure fit.
How Can I Stop Cold Air From Blowing Into My Window Type Air Conditioning Unit?
Most manufacturers offer a vent system that lets you close both the front of the unit and the back to prevent air from blowing in during certain seasons.
If your AC only has the front vent, you can remove the backing and place a piece of plywood or cardboard against the back vent to seal it against blowing wind.


