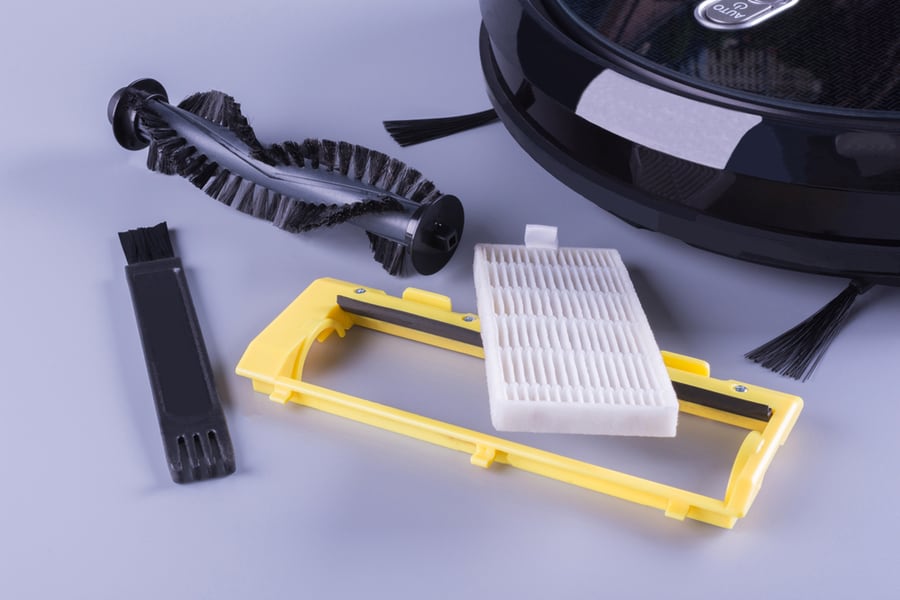
One of the selling points of the robot vacuum is that you can set it and forget it. These trusty cleaning appliances do all the vacuuming work for you, letting you enjoy a clean home without lifting a finger. So it’s hard not to notice when your robot vacuum malfunctions and fails.
Before you hand it in to get it serviced, however, there are some DIY solutions you can do to troubleshoot the issue and resolve the malfunction. If you’re having trouble with your robot vacuum, here are some steps you can try to get it to work again.
- The battery or power source problems can prevent the vacuum from holding a charge.
- Wheels and brushes may become obstructed by dirt and debris, restricting their movement.
- Dirty sensors limit a robot vacuum’s ability to sense where it should clean.
- If the dust bin is full, the vacuum will stay in its base until the bin is emptied.
- Certain settings can restrict some functions, making it seem as though your vacuum is broken.
- Always ensure your vacuum operating in ideal conditions that don’t interfere with functioning.
Just like any other appliance, a robot vacuum can run into errors leading to performance hiccups. Sometimes, there aren’t any errors — just mistakes with settings or minor oversights by the owner. Assessing the situation yourself before having your unit replaced or serviced can solve the problem quickly and without cost.
How To Fix a Robot Vacuum
Your user manual contains a wealth of information to help you understand why your robot vacuum isn’t working as it should. Most of the time, the manual has its own dedicated troubleshooting section that provides basic steps on how to resolve minor issues.
Check your manual before proceeding. Your robot vacuum might require unique solutions to fix minor issues and malfunctions.
1. Battery and Power Source
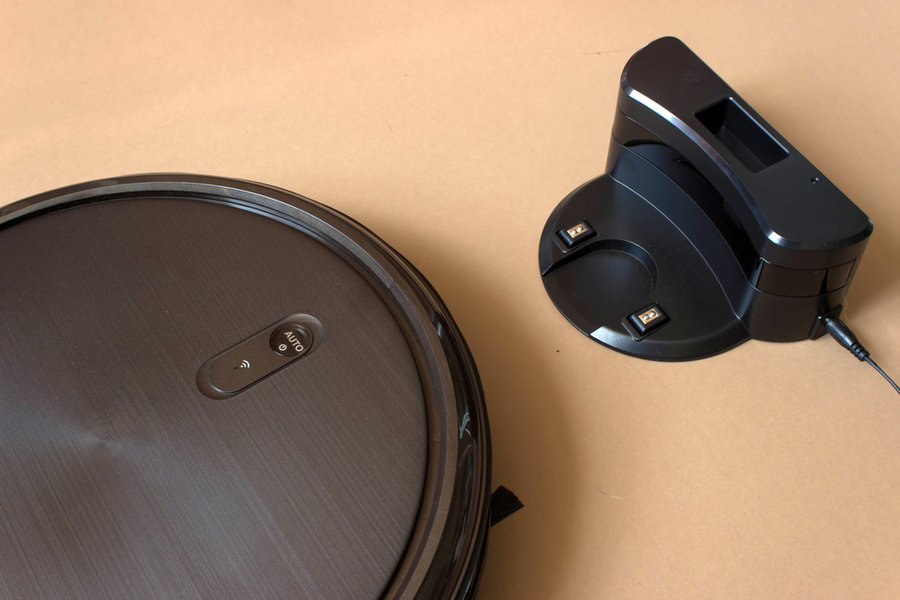
The first thing you should check if your robot vacuum refuses to work as it usually does would be the battery.
Robot vacuums usually come with rechargeable batteries that the unit recharges when it returns to the base. If the batteries are old and drained, they might be unable to hold a charge. In this case, you may have to replace them.
Another common issue concerns the power source. Even if your robot vacuum returns to its base, if it isn’t properly plugged in, the unit won’t charge. Check to ensure your base is connected to an appropriate power source. Avoid using extension cords that could reduce the current fed into the ground.
2. Wheels and Brushes
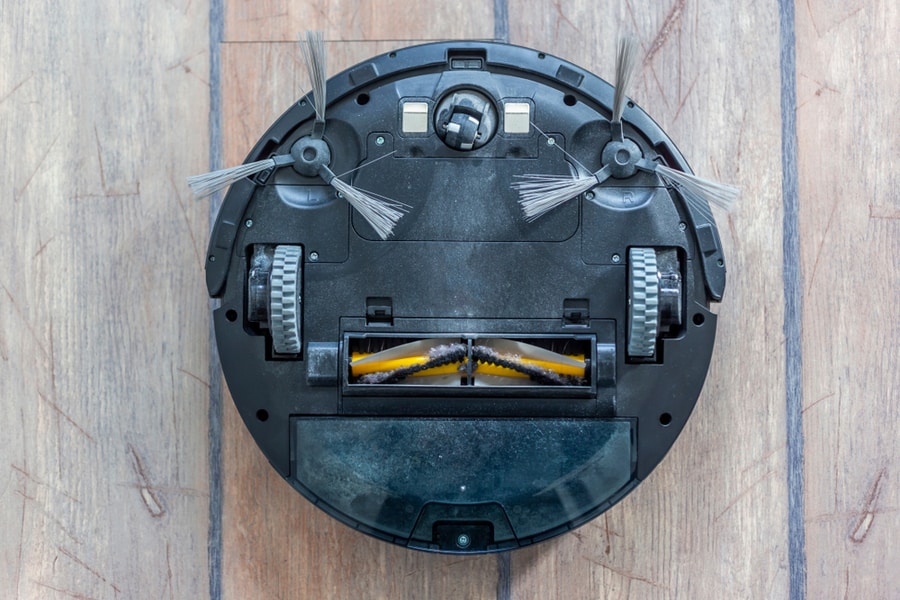
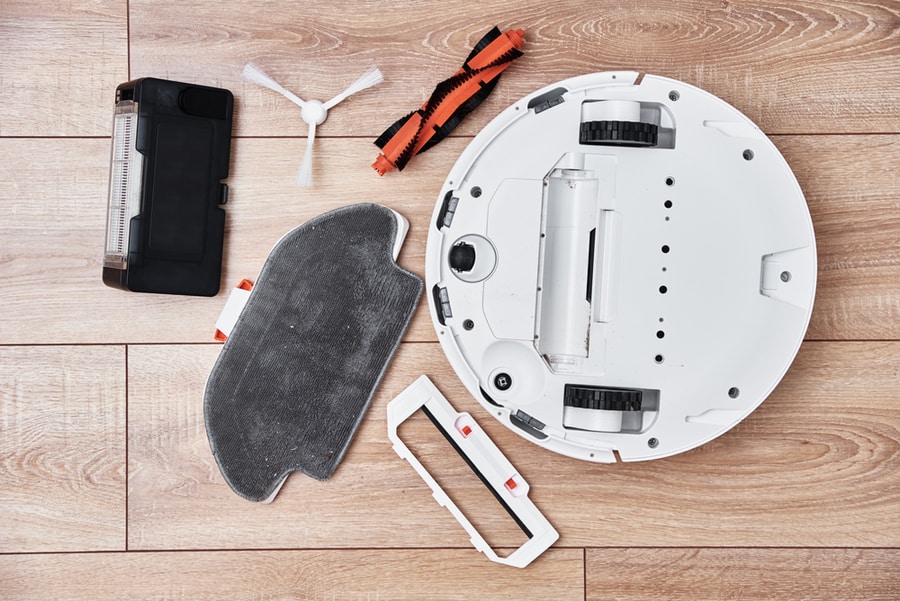
Flip your robot vacuum over and you’ll find a set of wheels and brushes. The wheels let the vacuum move around your space while the bushes dislodge dirt and dust so that the vacuum can pick them up. Because these components interact directly with debris and dirt in your home, they can stop working when particles get stuck in them.
In particular, hair strands and pet fur can stop these parts from moving. Inspect the wheels and brushes for any dirt, hair, or debris build-up. If they’re old and worn, you can buy replacement parts from the manufacturer.
3. Sensors
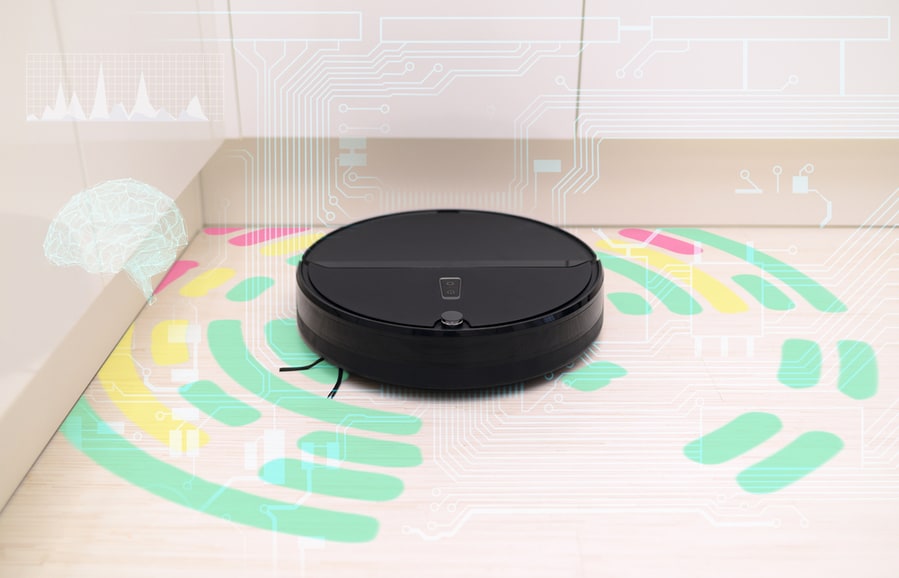
Robot vacuums come equipped with sensors that detect dirt in your home. When the sensors become covered in dirt, your vacuum could lose its sense of where to clean. Most of the time, dirty sensors will cause your vacuum to keep cleaning the same spot over and over because it interprets dirt on the sensor as dirt on the floor.
Sensor placement varies depending on the make and model of your robot vacuum. You can check the user manual to identify precisely where the sensors are on your vacuum’s body. In some cases, the sensors may appear coin-sized, while other vacuums reduce the size of their sensors to mere pin-point holes.
4. Dust Bin
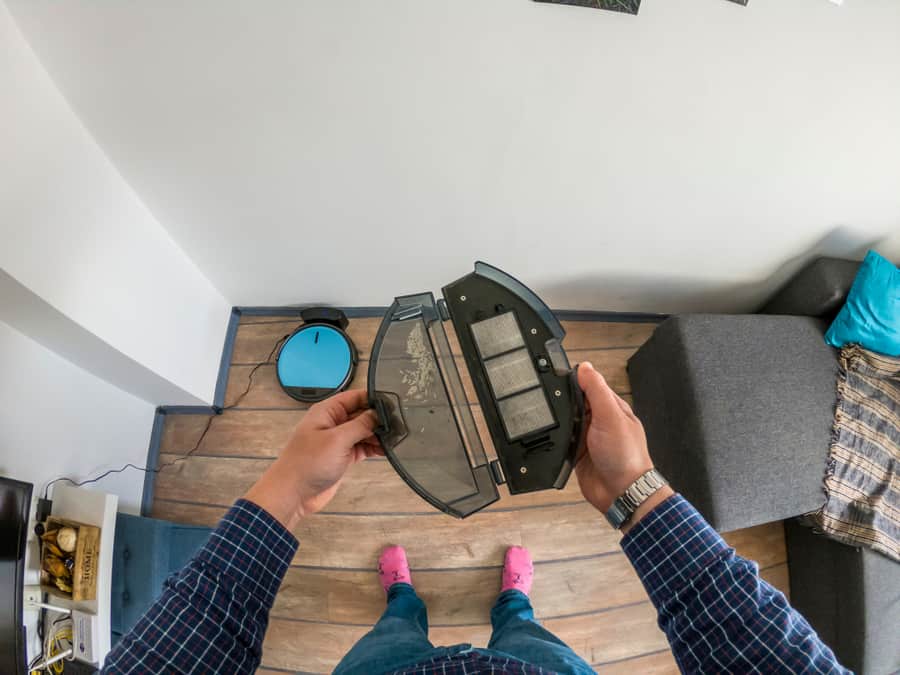
After your robot vacuum roams around your home, it will return to its base to recharge. This is also where the vacuum deposits whatever dirt and debris it collects during the cleaning cycle. Generally, the dust bin located in the base can hold up to 0.7 liters of dirt, depending on the make and model of your robot vacuum.
Most of the time, when the dust bin is full, the robot vacuum will usually stay in the base until it’s emptied, even if you try to start a cleaning cycle. To check if the dust bin is full, check the bin indicator light to see if it’s turned on.
Models that don’t have a bin light let you know whether it’s time to empty the bin through the dedicated app. Alternatively, you can check the bin yourself.
5. Settings
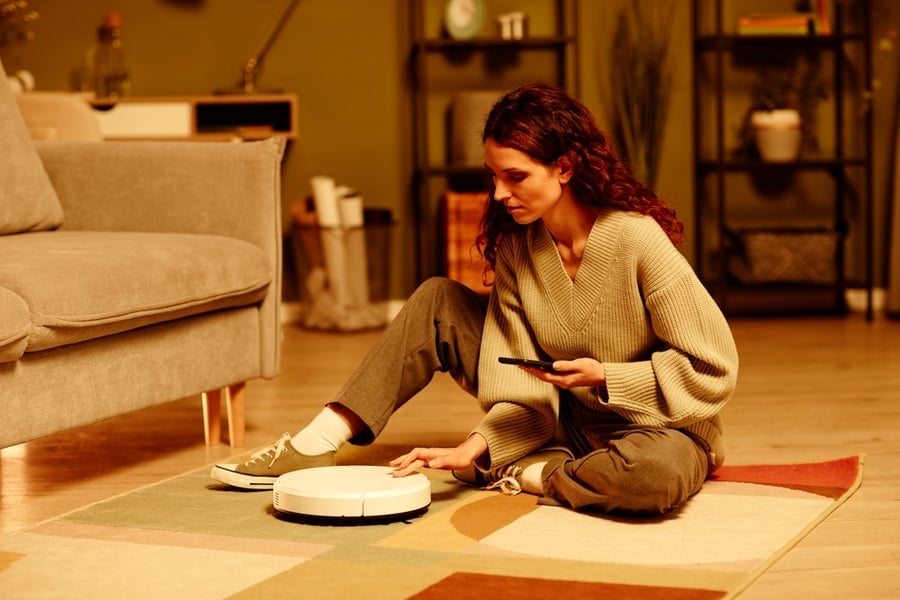
Robot vacuums can get impressively sophisticated, letting you adjust every detail of the cleaning process. If you’re unfamiliar with the robot vacuum’s application, it’s possible to change specific settings and restrict the functions of your vacuum.
Through the application, you can add rooms that are off-limits or ‘no-go zones,’ preventing the unit from cleaning specific spaces. If you weren’t aware of the restriction, you might think your vacuum improperly mapped out your home.
The settings also let you adjust time schedules, routines, and maps. If you’re using the wrong map for the space your vacuum is in, it could confuse the unit and cause malfunction.
6. Obstructions and Low Light Settings

Sometimes, your robot vacuum may appear like it isn’t working because of the conditions in your space. Low light settings obscure the view of the sensors, leaving the robot vacuum unable to perform its job. For the most part, there isn’t a robot vacuum in existence today that can operate in darkness because of their sensor technology.
Other things that could cause your robot vacuum to malfunction include obstructions in your home. Changing the furniture arrangement can also confuse the unit, making it look like it isn’t working properly. If you make any significant changes to your floor plan, make sure to reset the map through the dedicated robot vacuum application.
If none of these solutions work for your robot vacuum, then you can try one last thing — a hard reset. Resetting your robo-vac can solve minor bugs that could cause problems in its functioning.
You’ll have to read the manual to perform a reset since every robot vacuum is designed differently. Most of the time, however, resetting the vacuum entails pressing and holding the CLEAN button until the unit makes a sound.
If there is no reset function on your vacuum, you can perform a power cycle by placing the vacuum back in its base, unplugging it from the wall outlet, and waiting up to a minute before restoring power.
Conclusion
Before you assume the worst, consider these possibilities in the face of a malfunctioning robot vacuum. With some proper cleaning, parts replacements, or settings adjustments, you might be able to restore proper function and resolve minor errors without sending your unit in for servicing.
Frequently Asked Questions
Where Do You Bring a Broken Robot Vacuum?
If your robot vacuum is broken and you need to have it repaired, your best shot at proper care would be through the manufacturer’s in-house repair service. Contact their hotline or email them to find out where you can drop off your unit. If your unit is out of warranty, you can visit any third-party repair service to find out what’s wrong with your robo-vac.
Is It Worth Repairing a Robot Vacuum?
In no situation does the cost of robot vacuum repair ever exceed the price of a new unit. So, yes, if the repair will restore your robot vacuum to proper functioning, it should definitely be worth it.
However, there are instances when you might want to consider buying brand new instead. This applies to situations where the restoration of function isn’t guaranteed or when the robot vacuum has been worn and used beyond its intended lifespan.


