You bought your washing machine to make your life easier. But now, it seems like the washing machine has decided to stop in mid-cycle – making your life anything but easy.
Don’t despair just yet, as there are a few easy steps to fix a washing machine that stops mid-cycle, and sometimes, you don’t even need to call a technician.
If your washer stops in the middle of the cycle, here are troubleshooting steps to try out:
- Restore power connection
- Reset the washer
- Swap the lid switch
- Clear the water inlet valve
- Replace the control board
These are just some of the fixes to try out. The approach to use depends on the situation’s entire context. If unsure what to do, consult a technician.
In this article, I’ll explore some likely reasons your washing machine stops mid-cycle and how to troubleshoot it on your own. And yes, I’ll break everything down as simply as possible. So, whether you’re experienced or a first-timer in fixing washers, restoring your washer to normal working condition just got easier. Let’s get rolling!
8 Potential Reasons Your Washer Stops Mid-Cycle
If your washer can’t finish a cycle, here are some possible reasons:
1. Power Connection Problems
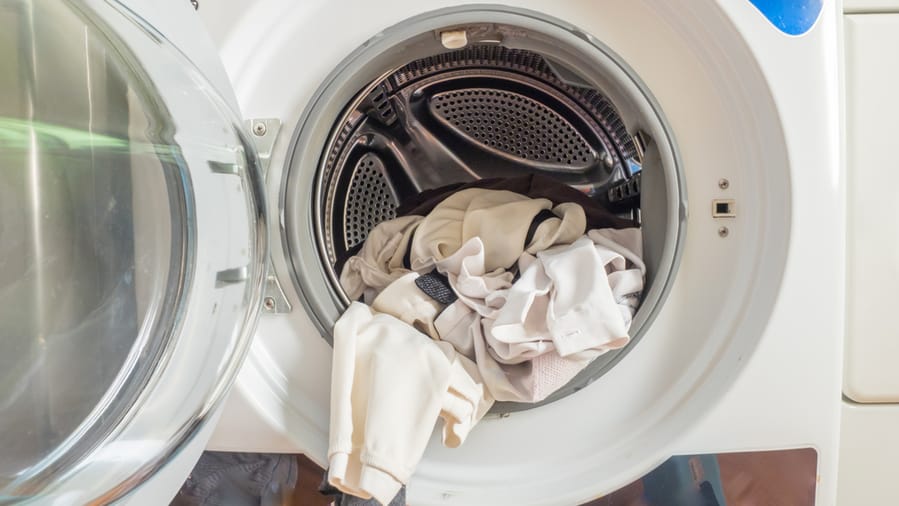
Your washer’s current problem is either external or internal.
Before focusing on any internal sources, check that no external factor plays a part.
An external issue, like a lost power connection, can cause the machine to stop working midway through the cycle. And, if your washer’s display shows no signs of life, there’s likely no power reaching the unit.
Diagnosis
- Check whether the power cable is securely plugged in.
- See if the circuit breaker is functioning correctly. Perhaps it got overloaded and tripped.
- Check the plug to see if the circuit breaker is okay and all your power connections are secure. Check if this part is defective. A multimeter will do.
- If the part is okay, move on to the internal factors.
- But if the test suggests a fault in the plug, that’s likely the culprit.
Solution
If you find the circuit breaker tripped, reset it and press the start button to see if the washer starts again. It should run well as long as the breaker’s capacity isn’t overloaded.
If the plug has gone bad, replace it with a new one. Once that’s done, you should be able to get your washer up and running again.
Before any invasive troubleshooting, always check your control panel for any error message. Some washers are programmed to show error codes that can help you pinpoint the exact area of trouble.
If an error code is displayed, find out what it means in the manual and how to fix it.
2. The Lid Switch Is Faulty
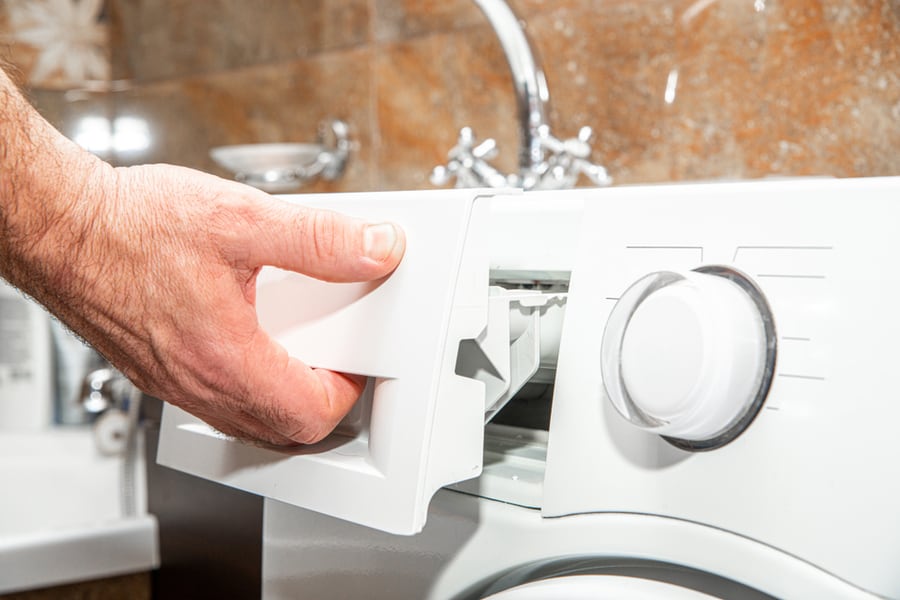
You might have noticed that your washer never runs until the lid is shut. Have you ever wondered about the science behind that?
Well, it’s due to a lid switch.
The switch ensures that the washing machine runs only when shut properly. It signals the control board to disable the washer if the lid is open. That’s why the machine won’t run until it isn’t shut properly.
When this switch is faulty, it might misinterpret the door status and create false signals that, in turn, “mislead” the control board into believing that the lid is open.
And when that happens, your washer stopping mid-cycle becomes one of the possibilities.
Diagnosis
- If you suspect a faulty lid switch, check it yourself.
- Look out for any signs of breakage.
- The lid switch is usually located at the top of the machine, more often under the washer lid.
- First, check to see if the switch is level with the top panel where it’s on. If it isn’t, that’s one sign that it could be broken.
- If the visual assessment doesn’t suggest any damage, try pressing the switch to examine the integrity of the screw beneath it. If it doesn’t give or respond after pressing again, it’s a sign of a broken switch.
- If neither of the assessments shows any signs of damage, bring in a multimeter to measure the continuity of your switch.
And remember, when testing the continuity of a lid switch, it’s necessary to press it down to create a similar impression as if the lid is shut.
Solution
If tests suggest the lid switch is faulty, there are two ways to go about it:
- Replace the switch
- Bypass it
Replacement is the more tedious and time-consuming option, but it should be your go-to if you want your washer to work as efficiently as it used to.
And yes, it won’t cost you much. You’ll likely part with less than $20 for a new switch.
If you are in a pinch or don’t want the switch, bypassing it is even easier. You’ll only need a magnet.
A powerful electromagnetic solenoid is just underneath the spot where the lid switch contacts the washer’s cabinet.
Bringing in a magnet “tricks” the solenoid into thinking the switch is shut by establishing a solid electromagnetic connection. That allows the washer to assume control of the cycle without engaging the switch.
While any magnet can do the bypassing trick, sticking to a thin, flat magnet is better. It will create enough electromagnetic force while giving the best fit that won’t affect how your washer’s door looks after it closes.
3. Defective Door Lock
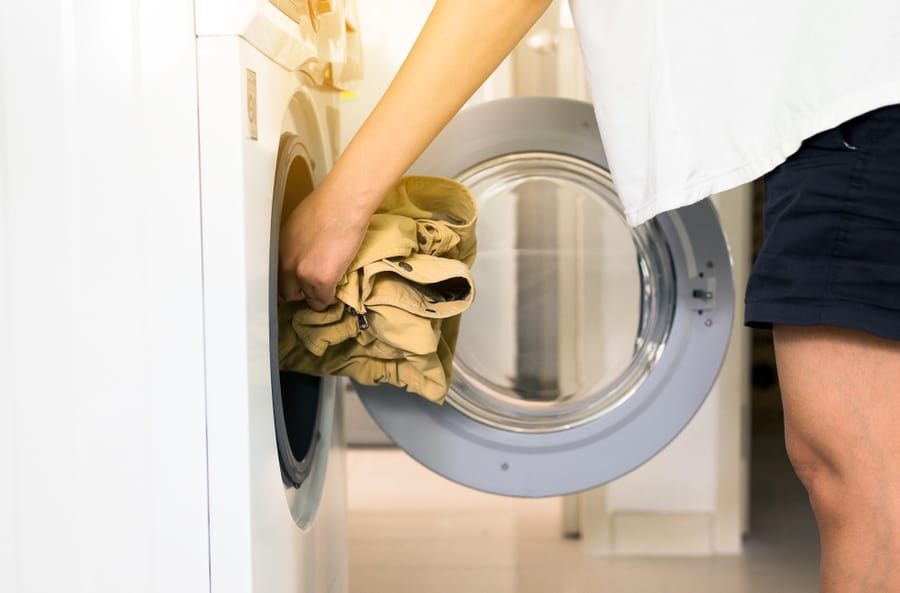
The door lock isn’t the same as the lid switch, but the two work in tandem and are connected via a circuit. A door lock is simply what its name implies – it locks the door and prevents it from opening during a cycle.
That’s to say; the lid switch sends signals after ensuring that the door lock has been appropriately engaged.
Now, if the door lock is defective and disengages in the middle of the cycle, it can cause the switch to signal the control board to shut off the cycle.
Diagnosis
To check if the door lock is the problem, see if the washer’s door feels wiggly if it’s shut. If so, move on to solving the problem.
Solution
- If tests suggest that the door lock is at fault, replacing it with a new one is better.
- A replacement lock will cost you around $2 to $10, but it can be more or less depending on the make and model of your appliance.
4. Faulty Washer Timer
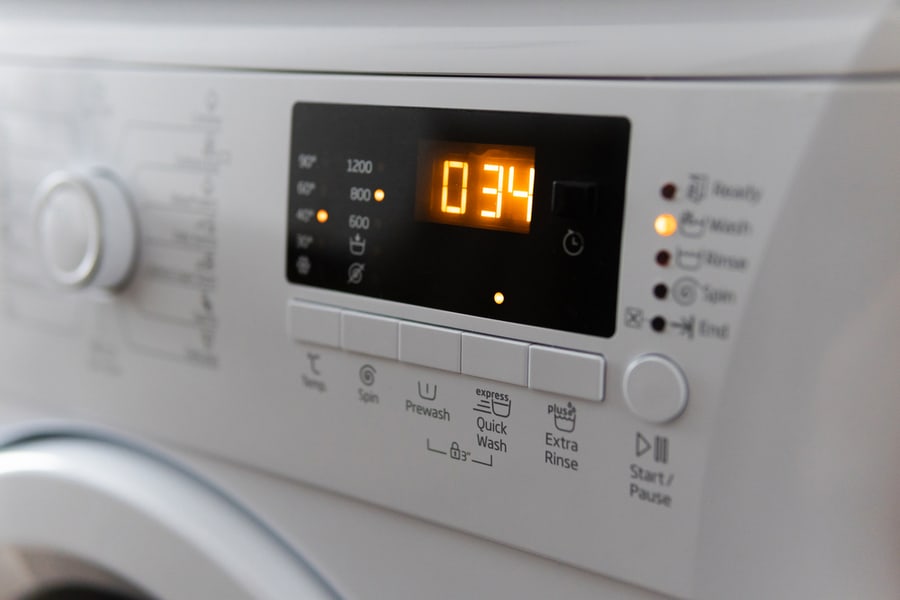
The washer timer controls the cycle’s duration and helps switch between different wash stages.
If this part of the washer isn’t functioning properly, it can stop your machine mid-cycle or run much longer than expected.
Usually located behind the control panel’s console, the timer isn’t a common problem in most models. But it’s not impossible.
So, if you’ve carried out all the checks above and are still unable to find a solution, it could be that your washer timer has stopped functioning.
Diagnosis
- Get a multimeter and check for continuity to see if it’s the culprit.
- Pay attention to the terminals that control the timer motor.
- You may also need to check the continuity of the timer motor.
- If none of these tests show continuity, your washer’s timer has probably gone kaput.
Solution
In this case, the only option you’re left with is to replace the timer. You’ll need to get the complete timer, even if the problem is with the timer motor, as the motor never comes separately.
Usually, expect to spend $50 to $150 for a new timer, depending on the model of your washer.
5. Problematic Water Level Control Mechanism

Here there are two components:
- The pressure hose
- The pressure switch
The pressure hose is an airtight tube that runs from the side of the tub and connects to the pressure switch. On the other hand, the pressure switch is responsible for sensing the water level inside the tub.
As the tub fills, water is forced up through the pressure hose. That displaces the air in the tube, prompting it to exert more and more pressure on the switch, eventually making it yield to the pressure and send a signal to the control board.
If the hose is damaged or clogs, the switch won’t receive the required force from the water and will fail to signal, causing your machine to stop mid-cycle.
So, check the pressure switch and hose for any issues.
They’re in different places on different machines, so you may have to consult the manual. But in most appliances, you’ll find them in the control console.
The switch is circular with a gear shape, and you can distinguish it from other rounded switches by looking at the rubber tubing – the pressure hose – connecting to it.
Diagnosis
First, check if the connection between the pressure hose and the switch is secure. If it is, blow air into the hose to check for any obstruction.
If the pressure hose seems fine, test the switch for continuity by touching its probes.
Now, the pressure switch has three pairs of quick-connect male plugs:
- Common
- Normally open (NO)
- Normally closed (NC)
For the test, touch the multimeter probes to each one of these plugs and see if you get continuity. If not, it’s time to get a new pressure switch.
Solution
If you find a loose connection between the pressure hose and the switch, reconnecting it should be enough to get your washer running again.
Add vinegar to the tube with a turkey baster for a clogged pressure hose. The acetic acid in the cleaner should dissolve the plug.
For a malfunctioning pressure switch, buy a new one and install it. Usually, it goes for around $15 – $50.
6. Faulty Water Inlet Valve
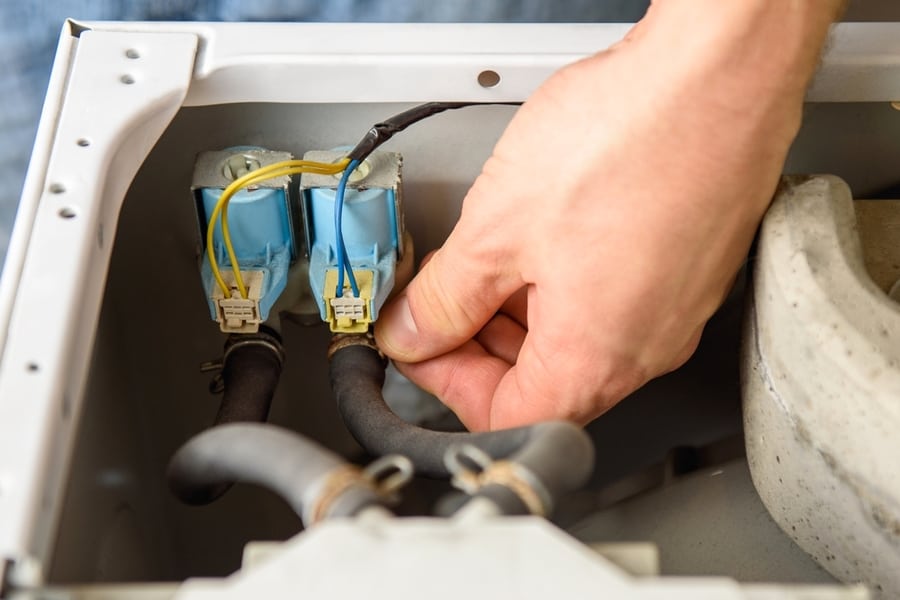
If the pressure washer stops during the rinse cycle, it could be a faulty water inlet valve. The water inlet valve regulates hot and cold water flow into the unit.
The valve has two ports connected at the back of the unit – one for cold, the other for warm water – with solenoid valves sending signals to open and close the appropriate water ports, depending on the setting.
When the inlet valve is faulty, it won’t let enough water into the washer, prompting it to stop due to the deficiency.
Diagnosis
The hose fitting ports of the water inlet valve have screens. Check each of them for clogs. Perhaps you’ve been using hard water, and there’s a mineral build-up or other debris in the port.
If the screen looks fine, test the solenoid valves for continuity. You may have to remove the back, front, or top of the cabinet to access these valves.
It depends on your washer, so consult your unit’s user manual for more specific directions.
Usually, each solenoid will have two wires connected to it, so detach each one. Then, check for the continuity of the unit using a multimeter.
When testing the solenoids, remove each wire independently and mark them for easy reattachment if necessary.
Solution
If you find any obstructions in the hose fitting ports, clean them away to get the valve working again.
If the solenoids are malfunctioning, get a replacement. You’ll have to buy the entire water inlet valve assembly and install it to have your washer running again.
7. Drain Hose Issues
The drain hose, too, can cause the washer to stop during a cycle. If it’s kinked, twisted, clogged, or its connection to the drainage system is improper, the appliance won’t release water as it should.
Sometimes, the problem could be with the pump draining water out of the unit.
It could be clogged, especially if you’d initially used the machine to wash carpets or other materials likely to release fibers when in the washer.
Diagnosis
Look for any signs of kinking or twisting of the hose. This will restrict the water from going through and make it difficult for the washer to drain water out.
Next, move to examine the clogs in the hose. Disconnect it from the machine.
Of course, you must turn off and empty the washer before disconnecting the drain hose. Then, try blowing air through it to see check for any blockage.
As for the pump, assess it for clogs. You’ll have to remove the washer’s panel to access it.
If you have a top-loading unit, check for it at the back. For front-loading, it’s housed at the front, just below the door.
Solution
If the hose is kinked or twisted, straighten it out. You may also have to replace the whole hose if need be.
For clogs in the hose, connect it to a garden hose and run water through it. That should clean it up and make it ready for use.
As for the pump, clean the filter screen if there’s debris stuck to it.
8. Broken Control Board
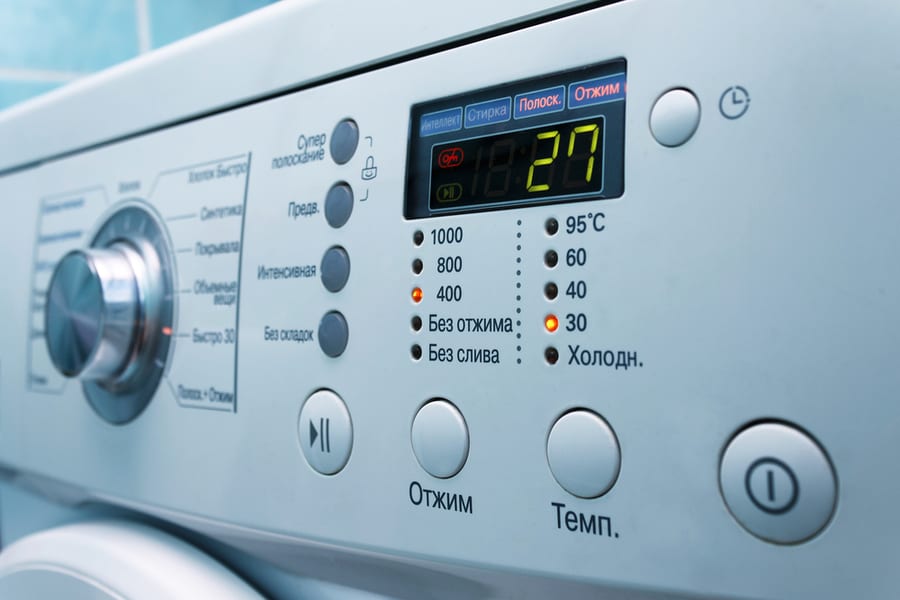
A broken control board is your last wish for your washer. This part is the brain of the washer and controls all its functions, including when to turn n off or on.
If something goes wrong with the board, your washer can express it in a dozen ways, including stopping mid-cycle.
But in most cases, you’ll notice other signs too. So, if your washer has recently been exhibiting strange symptoms, the control board could be the problem.
Diagnosis
Examine if the washer is showing any other signs of control board failure. Try pressing any other button and see if the machine responds. If it doesn’t, something’s likely wrong with the control board.
Solution
Unfortunately, you’ll have to order and install a replacement part to fix the issue in a broken control board.
Installing the central control board is one of the most technical operations on your washer. It’s best to leave it to an expert technician, as mishandling this part can damage the entire appliance beyond repair.
How To Do a Master Reset on a Washing Machine
When you notice a problem with your washing machine and rule out the power supply as the cause, a master reset should usually be your next move.
A master reset solves many washing machine troubles, such as when they start displaying error codes or won’t enter a specific cycle. Usually, the procedure depends on the specific model you have.
But generally, here’s the procedure:
- Unplug the washer
- Wait for a minute or two
- Plug it back
- Open and close the door 6 times within 12 seconds
And that’s it! Run a cycle and see if the problem is gone.
Conclusion
Getting a washing machine to work again can be tricky, as the source of the issue could be one of several things.
From a kinked drain hose to a broken control board, each issue requires its diagnosis and solution. But with the proper steps, you can be sure of getting your machine back in working order soon.
And as usual, always remember to unplug your appliance before attempting any repairs. And if you’re ever in doubt, it’s best to leave the repair job to the experts.

