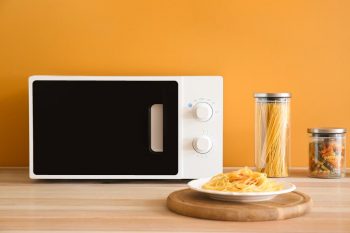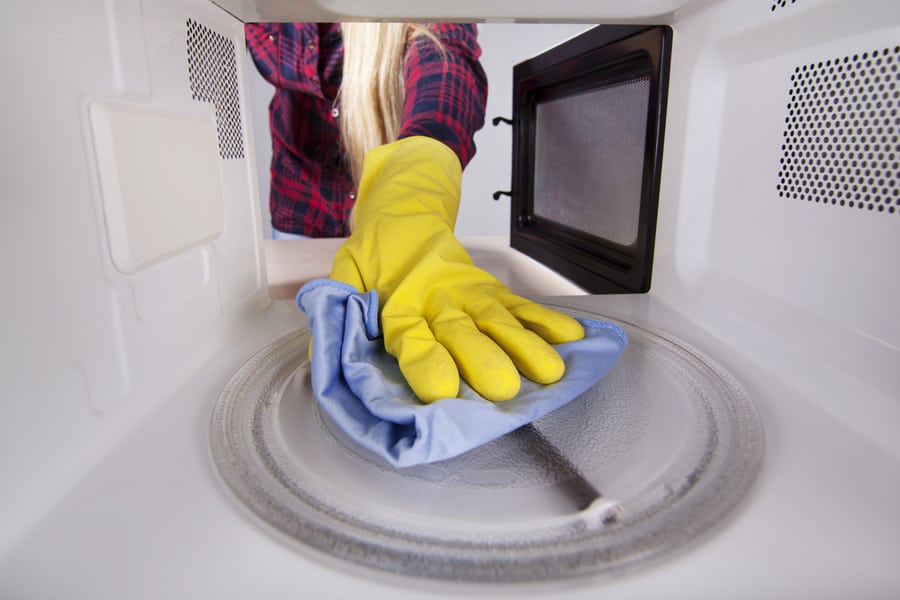
Microwave ovens are a staple in every modern kitchen as it helps to heat leftovers or even cook fresh foods quickly and efficiently. But the key to keeping your microwave shiny is regular maintenance.
Cleaning your microwave every few days, at the very least, helps remove splatters, greasy fingerprints on the control, and stuck-on food on the interior.
But how do you clean a microwave with ease?
Cleaning a microwave is pretty easy, as all you need are supplies in your pantry to make a messy microwave oven sparkle.
Some cleaning agents you can use to clean a microwave include the following:
- Dish soap
- Vinegar
- Lemon
- Baking soda
Ensure you unplug the microwave from the outlet before cleaning it to be safe.
This article elaborates on different ways to clean a microwave oven using cleaning agents you can easily lay your hands on.
4 Ways To Clean a Microwave
You can choose from many cleaning agents when you want to clean your microwave to restore its sparkle. But ensure you avoid using bleach; it is corrosive and can weaken the plastic interior and damage the microwave in the long run.
So, when cleaning a microwave, use any of the cleaning agents below:
Method #1: Using Dish Soap
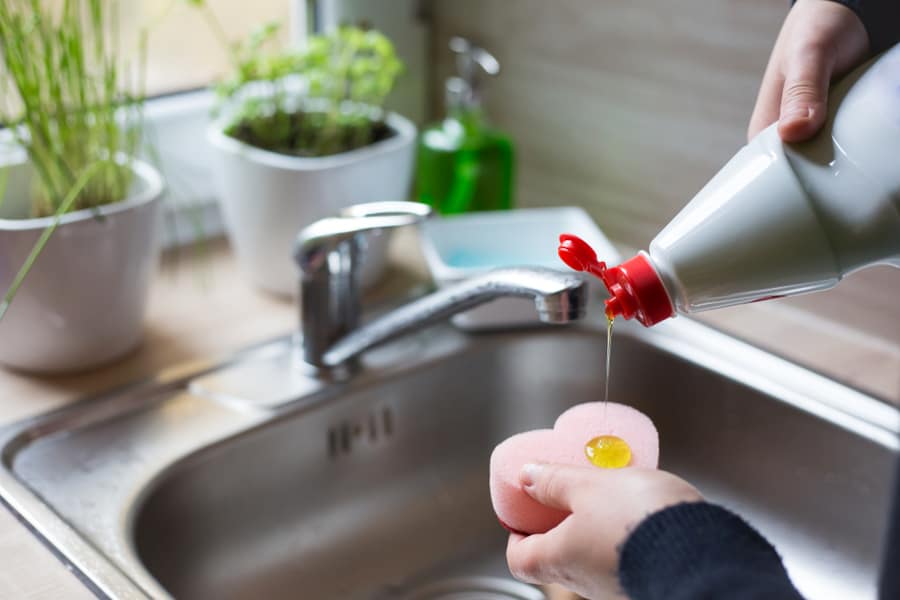
Dish soap is one of the most commonly used options to clean a microwave. It is simple and works on every kind of stain you can think of in your microwave.
Using dish soap in your microwave is particularly great because it will not react with any mineral in the water or your microwave to form soap scum.
Often dish soap contains only stabilizing and thickening agents, which is why they are so gentle.
Here’s how to use dish soap to clean a microwave:
- Add a few squirts of dish soap to a bowl of warm water and mix.
- Soak and squeeze a dishwashing sponge in the bowl until the water gets full of suds.
- Remove the interior glass of the microwave and the turntable.
- Handwash the glass plate in a sink, rinse, and then keep it aside to dry.
- Use the soapy sponge to clean the microwave interior.
- Use a circular motion to coat the entire floor, walls, doors, and ceiling.
- Rinse with a dry rag and repeat until the microwave is spotless.
- Replace the turntable and glass plate, and your microwave is ready.
Method #2: Using Vinegar
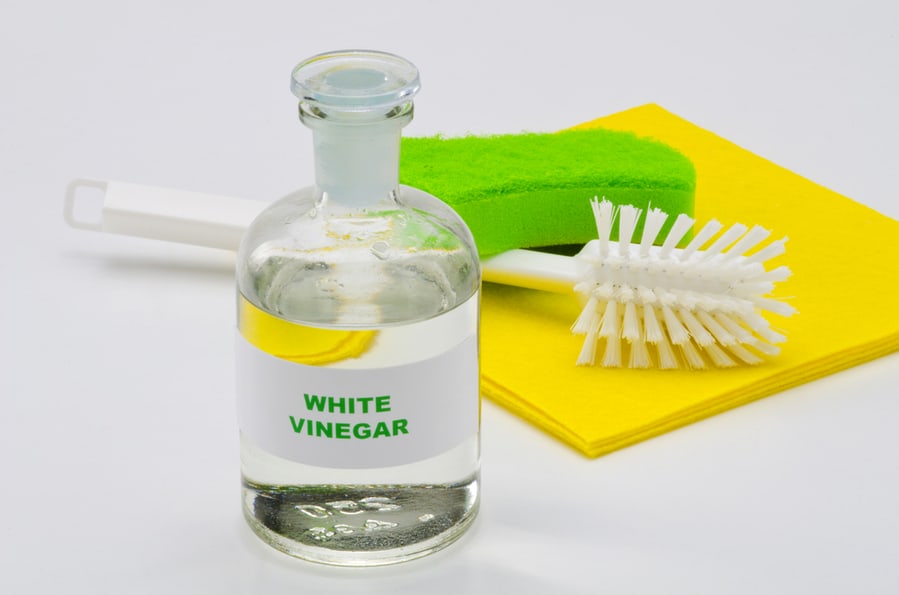
Another cleaning agent you can use to get rid of tough spots in your microwave is vinegar. This solution of trace compounds and acetic acid makes it an excellent cleaning agent.
As an acidic solution, it is a powerful cleaning agent because it can dissolve mineral deposits such as grease, dirt, and grime, which are common in microwaves.
However, the right concentration of vinegar is needed to clean the microwave effectively. For the vinegar to work efficiently, it must contain by volume of 5 to 8% acetic acid.
Here’s to use vinegar to clean a microwave:
- Mix 2 tbsp of vinegar in a small bowl in 2 cups warm water.
- Remove the glass plate and turntable from the microwave and wash them in the sink.
- Next, wipe down the microwave with the vinegar solution using a soft rag.
- Allow the solution to sit in the microwave for 5 minutes.
- Next, wipe the microwave interior with a damped clean cloth to remove every stain.
- Finally, replace the glass plate and the turntable; your microwave is ready to use.
Method #3: Using Lemon
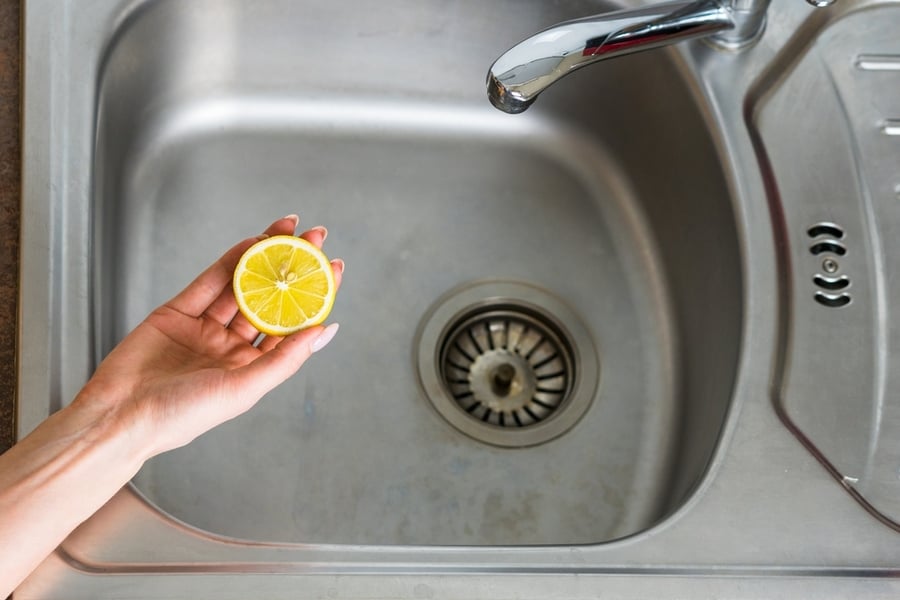
Lemon is another excellent mild cleaning solution that can eliminate dirt and grim in your microwave. Like vinegar, lemon is acid-containing citric acid, which can dissolve minerals in the microwave.
The best part is that lemon is natural, leaving your microwave smelling fresh with a zest of lemon fragrance.
Here’s how to use lemon to clean a microwave:
- Cut a lemon or two in halves and squeeze the juice out.
- Mix the lemon juice and warm water in a 1/2 to 1 portion.
- Remove the turntable and glass place from the microwave and wash them in a sink.
- Damp a clean rag in the lemon solution to clean the interior of the microwave.
- Allow the solution to stay on the microwave’s interior for 5 minutes.
- Then, clean the surface with a dry rag and replace the turntable and glass plate.
Method #4: Using Baking Soda
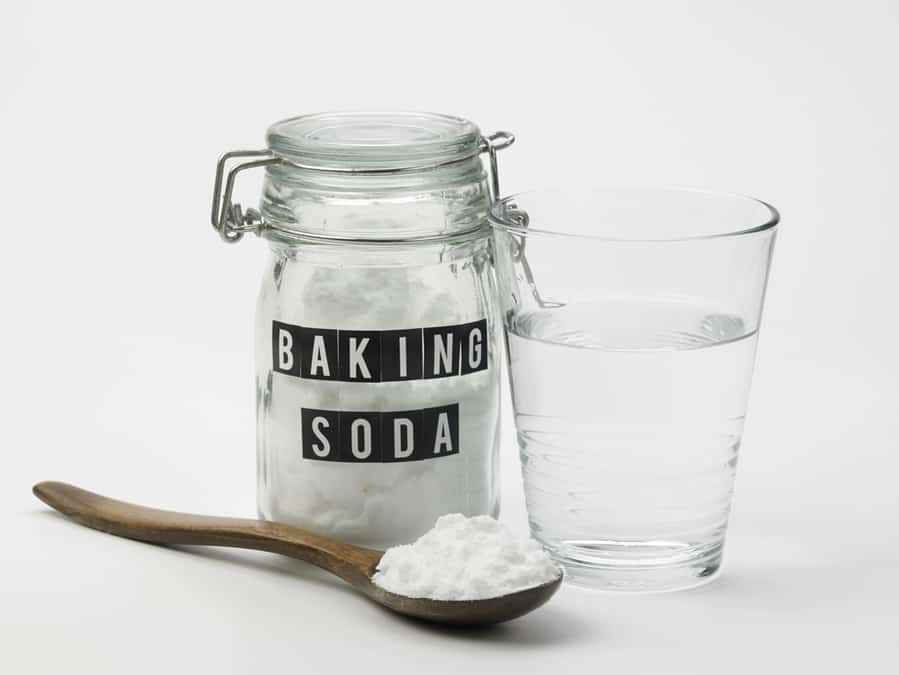
Baking soda is a chemical leavening that reacts with an acid to produce carbon dioxide or loss of bubbles. It is an excellent cleaning agent formally known as sodium bicarbonate.
Baking soda in your microwave acts as a natural deodorizer and is an excellent option for getting rid of that strong order from your microwave.
Here’s how to use baking soda to clean the microwave:
- Mix 2 tbsp of baking soda with one cup of warm water.
- Remove the turntable and glass plate from the microwave, then wash them in the sink.
- Wipe the baking soda solution in the interior of the microwave and let it sit for 5 minutes.
- Use a rag to clean the dirt from the microwave and replace the glass plate and turntable.
Conclusion
Maintaining your microwave is easier than you may have thought. Note that cleaning your microwave regularly makes it last longer, giving you value for your money.
The good news is that with simple home supplies, you can get rid of stubborn stains in your microwave and have it smell fresh within minutes.
So, if you have not been taking the maintenance of your microwave seriously, then this article discusses how to go about cleaning your microwave in different ways.
Frequently Asked Questions
Does My Microwave Have Filters?
Some microwaves have filters. But certainly, you’d not find it on any tabletop microwave option popular in most homes. But if you have an over-the-range microwave, you need to clean the filter now and then.
Even though the filter does an excellent job at filtering it, you still need to clean it every three to six months.
Can I Use a Metallic Sponge on My Microwave?
Apart from the risk of scratching a microwave, metals, and microwaves don’t interact well. So, using a metal sponge on your microwave may leave metal shavings which can be hazardous.

