With the advent of modern technology, kitchen appliances have become more advanced and user-friendly. One such innovation is the self-cleaning feature in ovens, particularly the GE Self-Cleaning Oven. This feature is designed to make oven cleaning more manageable, but how exactly does it work, and how should you use it? In this comprehensive guide, we’ll cover everything you need to know about using a GE Self-Cleaning Oven.
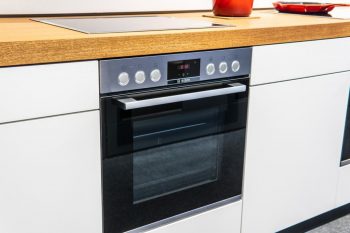
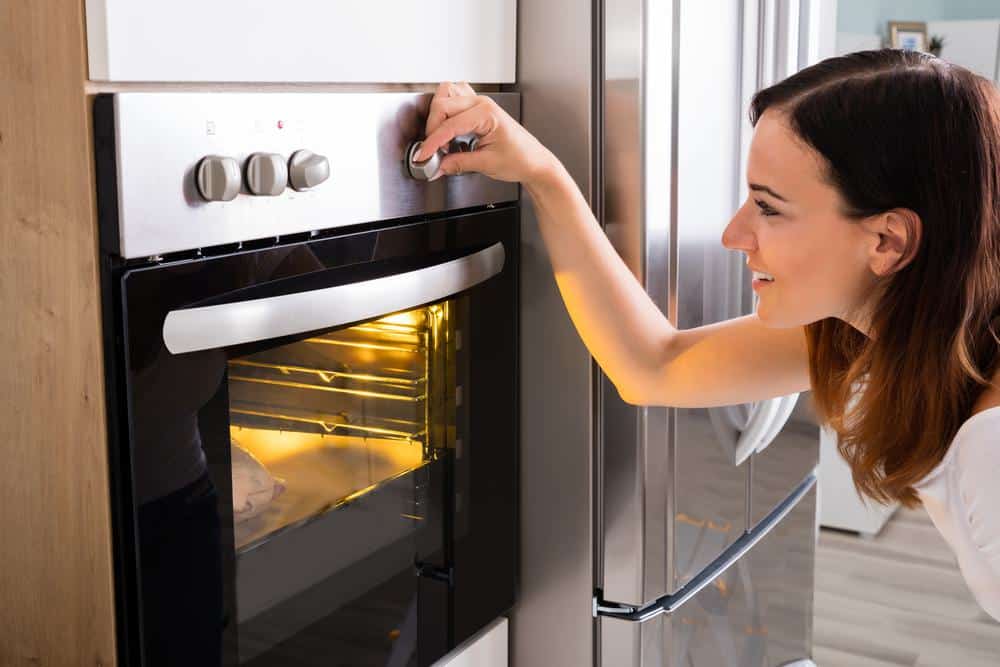
To use a GE Self-Cleaning Oven, first remove all items from the oven and wipe away any visible debris. Ensure proper ventilation in the kitchen, then close and lock the oven door. Press the “Clean” button on the oven’s control panel, select the desired cleaning time or soil level, and press “Start.” After the cycle, allow the oven to cool down completely before removing any ash residue. Always remember to follow safety precautions, such as keeping children and pets away during the cleaning cycle.
Key Features of a GE Self-Cleaning Oven
The GE Self-Cleaning Oven comes with several key features:
- High-temperature self-cleaning: The oven uses high temperatures, reaching about 880 degrees Fahrenheit (471° C), to decompose food soils inside the oven, leaving behind a small amount of ash that can be easily wiped out.
- Steam Clean: This feature allows for quick cleaning of minor food spills at temperatures lower than the standard self-clean feature.
- Safety measures: The oven door locks automatically or with a lever during the self-cleaning cycle to prevent anyone from being exposed to the extreme heat.
- Adjustable cleaning time: Depending on the level of dirtiness, you can choose a cleaning time between 2 to 4 hours for light to heavy cleaning.
Precautions Before Using the Self-Cleaning Feature
Before using the Self-Cleaning feature, you should take the following precautions:
- Remove Oven Racks: Unless your oven racks are labeled as “Self-Clean” or “Never-Scrub,” remove them before starting the self-cleaning cycle.
- Clean up spills: Wipe up any excess spillage or debris with a wet cloth before starting the self-cleaning cycle.
- Ensure Proper Ventilation: Make sure your kitchen is well-ventilated to help dissipate any fumes or odors produced during the self-cleaning process.
- Keep Children and Pets Away: The oven can get extremely hot during the self-cleaning cycle, so it’s essential to keep kids and pets out of the kitchen for their safety.
Step-by-Step Instructions to Activate the Self-Cleaning Cycle
To activate the self-cleaning cycle on your oven, follow these step-by-step instructions:
- Remove all items from the oven.
- Wipe away any visible debris or spills inside the oven with a damp cloth.
- Ensure proper ventilation in the kitchen.
- Close the oven door and, if applicable, move the door lock lever to the locked position.
- Press the “Clean” button on your oven’s control panel.
- Select the desired cleaning time or soil level.
- Press the “Start” button to begin the self-cleaning cycle.
- Wait for the cycle to complete and the oven to cool down.
Maintenance After the Self-Cleaning Cycle
After the self-cleaning cycle, it’s essential to maintain your oven properly:
- Allow the Oven to Cool Down Completely: The oven won’t unlatch until it cools down to a safe temperature.
- Remove Ash Residue: Use a damp microfiber cloth and wipe the oven from top to bottom, removing any ashy residue.
- Clean Oven Racks: Clean the oven racks separately using a mild detergent and warm water.
- Check for Any Issues: After the self-cleaning cycle, check for any issues or potential problems with your oven.
Potential Issues and Common Problems
While self-cleaning ovens are designed to make cleaning easier, users may face potential issues such as:
- Damage to oven components
- Blown fuses or tripped circuit breakers
- Oven not heating after self-cleaning
- Harmful emissions and smoke
- Fire and burn hazards
- Oven door not unlocking
Conclusion
The GE Self-Cleaning Oven is a fantastic appliance that can save you a lot of time and effort when it comes to oven cleaning. However, it’s essential to use this feature correctly and safely. By following the steps and precautions outlined above, you can ensure that your oven remains in great condition and serves you well for many years to come.
Frequently Asked Questions
Can I use the oven while the self-cleaning cycle is on?
No, it’s not recommended to use the oven while the self-cleaning cycle is on. The oven door locks during the cycle for safety, and the high heat used during the cleaning process isn’t suitable for cooking.
How often should I use the self-cleaning feature on my GE oven?
The frequency of using the self-cleaning feature depends on how often you use your oven and how dirty it gets. However, a good rule of thumb is to use the self-cleaning feature once every few months or whenever you notice a buildup of food residue.
What should I do if the self-cleaning feature doesn’t work?
If the self-cleaning feature doesn’t work, make sure the oven door is fully closed and the door lock is activated if applicable. If the problem persists, it may be due to a faulty component, and you should contact GE or a professional repair service.
Can I use oven cleaner sprays or foams in my GE Self-Cleaning Oven?
No, it’s not recommended to use oven cleaners in self-cleaning ovens as they can damage the interior surface. Instead, use the self-cleaning feature and wipe out any remaining ash residue with a damp cloth.
Why is there smoke in my kitchen while using the self-cleaning feature?
The self-cleaning process burns off food residue at high temperatures, which can produce smoke, especially if there’s a lot of buildup. Ensure proper ventilation in your kitchen when using the self-cleaning feature. If the smoke is excessive, stop the cleaning cycle and let the oven cool down.
Can I leave the house while the oven is self-cleaning?
It’s not recommended to leave the house while the oven is self-cleaning. Although the oven locks during the cleaning process, it’s better to be present in case any problems arise.

