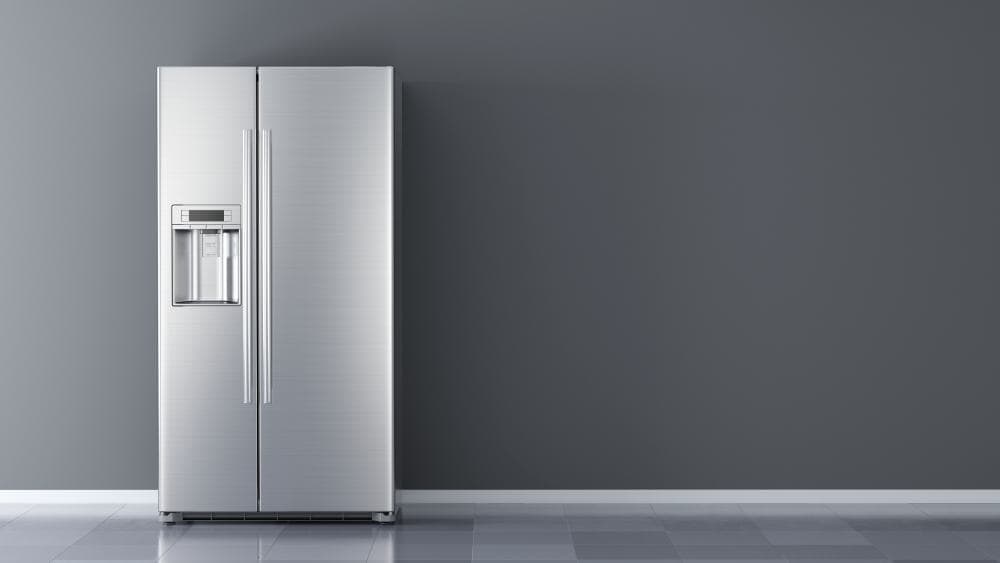
Cleaning your LG refrigerator water dispenser is a critical task that many people often overlook. Regular cleaning not only ensures that the water you drink is clean and safe but also extends the lifespan of your refrigerator by preventing the buildup of bacteria and mineral deposits. This comprehensive guide will walk you through the process of cleaning your LG refrigerator water dispenser in detail.
Cleaning an LG refrigerator water dispenser involves disconnecting the refrigerator, cleaning the exterior with a cloth and a vinegar-water solution, and cleaning the interior with a bleach or vinegar solution. After cleaning, rinse with clean water, let it dry, and reassemble. Regular cleaning should be done every 30 days to prevent bacteria and mineral deposits buildup.
Why Clean Your Water Dispenser?
Over time, the water dispenser in your refrigerator can accumulate bacteria, mold, and mineral deposits, especially if you live in an area with hard water. These can affect the taste and safety of your drinking water. Regular cleaning can prevent these issues and ensure that your water dispenser works optimally.
Frequency of Cleaning
According to experts, it is recommended to clean your LG refrigerator water dispenser every 30 days or so. Regular cleaning can prevent grimy buildup, ensure the dispenser works efficiently, and maintain the cleanliness and safety of your drinking water.
Necessary Tools and Materials
To clean your LG refrigerator water dispenser, you will need:
- A clean cloth or soft sponge
- Mild dish soap or water dispenser cleaner
- Warm water
- Cotton swabs
- Vinegar (optional)
Step-by-Step Cleaning Guide
Disconnecting the Refrigerator
Before cleaning, it’s important to disconnect your refrigerator from the power source. This ensures safety during the cleaning process. Here is how to do it:
- Unplug the refrigerator from the wall outlet.
- Remove all items from the refrigerator.
- Take out any removable shelves, drawers, and other parts for cleaning.
- If your refrigerator has an ice maker or water dispenser, carefully disconnect the water line according to the user manual.
Cleaning the Exterior
The exterior parts of the water dispenser, such as the water and ice nozzles, are the most exposed and therefore require regular cleaning. Here are the steps:
- Gently wipe the water and ice nozzles with a clean cloth.
- Use a damp cloth to wipe the entire area around the dispenser.
- Mix equal parts of water and white vinegar in a small bowl.
- Wipe all visible surfaces with the vinegar mixture.
- Wipe the dispenser’s surfaces with a clean cloth to remove the vinegar.
Cleaning the Interior and Tube
The interior and tube of the water dispenser also need thorough cleaning to prevent the buildup of bacteria and mineral deposits. Here is how to do it:
- Unplug the water dispenser and remove the water bottle.
- Prepare a cleaning solution using bleach or white vinegar.
- Clean the water bottle holder with a microfiber cloth.
- Pour the cleaning solution into the water dispenser’s reservoir.
- Use a sponge or scrub brush to scrub the inside of the reservoir.
- Rinse the water dispenser with clean water.
Reassembling and Reconnecting
Once you’ve cleaned all the parts, it’s time to reassemble and reconnect your refrigerator. Make sure all parts are completely dry before reassembling them. Plug the refrigerator back into the power outlet and turn it on using the control panel inside.
Troubleshooting Tips
If your water dispenser is not working properly after cleaning, try these troubleshooting tips:
- Check the power supply and water supply.
- Remove and replace the water bottle.
- Examine the water filter and replace it if necessary.
- Check for frozen water supply tubes and defrost them if necessary.
- Inspect the dispenser switches and control board.
- Clean the dispenser nozzle.
Final Thoughts
Regular cleaning of your LG refrigerator water dispenser is essential for maintaining its performance and ensuring the safety of your drinking water. By following the steps outlined in this comprehensive guide, you can keep your water dispenser clean and functioning optimally. Remember, it’s always better to prevent issues than to fix them!
Frequently Asked Questions
How often should I replace the water filter in my LG refrigerator?
The water filter in your LG refrigerator should be replaced every 6 months or after every 200 gallons of water filtered, whichever comes first. Regular replacement ensures the quality of the water and the performance of the water dispenser.
Can I use a different brand of water dispenser cleaner?
Yes, you can use any brand of water dispenser cleaner as long as it’s safe and suitable for refrigerator water dispensers. Always read the product instructions to ensure proper usage.
What should I do if the water dispenser is still not working after troubleshooting?
If the water dispenser is still not working after troubleshooting, it’s best to contact LG customer service or a professional appliance repair service. There might be a more complex issue that needs professional attention.
Is it safe to clean the water dispenser with bleach?
Yes, it is safe to clean the water dispenser with a mild bleach solution. However, ensure to rinse thoroughly afterward to remove any bleach residue. Never use bleach directly without diluting it first.
Can I use this cleaning guide for other refrigerator brands?
While this guide is specifically for LG refrigerators, the general cleaning principles can be applied to other brands. However, it’s always best to refer to the user manual of your specific refrigerator model for detailed instructions.


