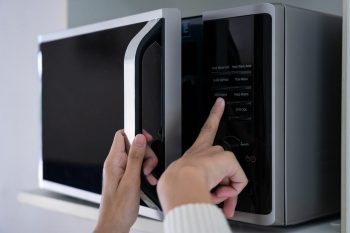
Microwaves have become a staple in most modern kitchens, providing convenience and efficiency for our cooking needs. Among the various brands available, KitchenAid is a household name known for its quality appliances. One of those appliances is the microwave, and like any other appliance, it requires regular maintenance. One key component that needs regular attention is the microwave filter.
In this comprehensive guide, we’ll walk you through the process of cleaning the filter of a KitchenAid microwave. We’ll cover everything from locating the filter to safely removing it, cleaning it, and reinstalling it. We will also discuss the signs that indicate it’s time to clean your microwave filter, common mistakes to avoid, and even how often you should clean your filter.
To clean the filter of a KitchenAid microwave, first unplug the microwave and locate the grease filter on the underside. Remove the filter by sliding it away from the tab area. Clean the filter with mild soap and water, gently scrubbing with a soft cloth or sponge. Rinse thoroughly and let it dry completely before reinstalling it. For the charcoal filter, it cannot be cleaned and should be replaced about every 6 months or as prompted by the filter status indicator. Always refer to the Owner’s Manual for specific instructions related to your microwave model.
Locating the Filter
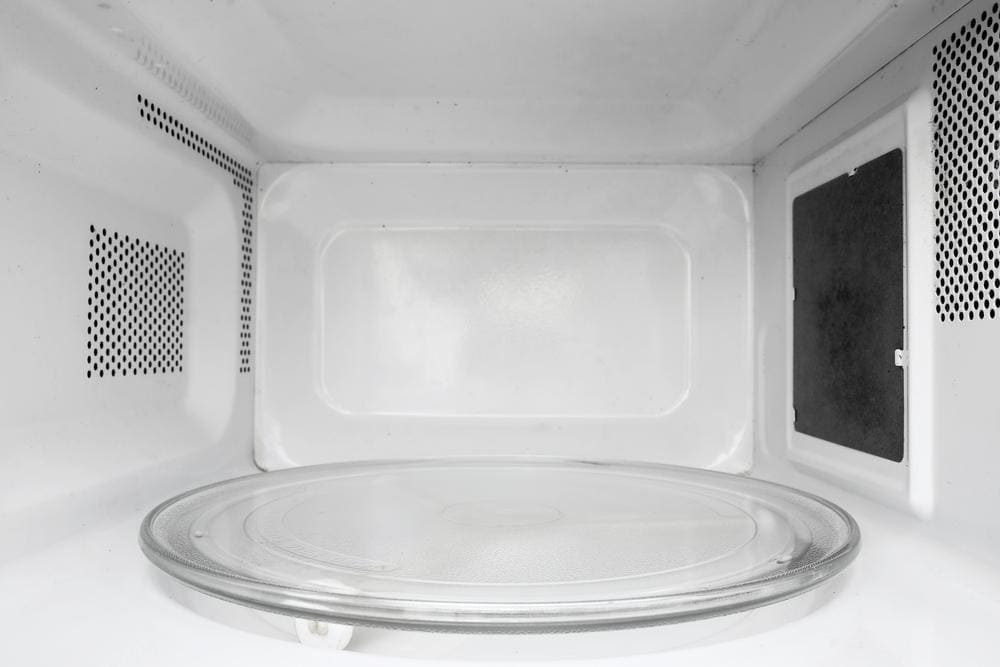
KitchenAid microwaves typically have two types of filters – a grease filter and a charcoal filter. The grease filter is located on the underside of the microwave oven, while the charcoal filter is situated behind the vent grille at the top front of the microwave oven.
Signs It’s Time to Clean Your Filter
- Filter status indicator: KitchenAid microwaves come with a filter status indicator that informs you when it’s time to clean the grease filter or replace the charcoal filter.
- Monthly cleaning: As a rule of thumb, the grease filter should be cleaned monthly or as prompted by the filter status indicator.
- Reduced airflow or odors: If you notice reduced airflow or lingering odors while using your KitchenAid microwave, it might be time to clean the grease filter or replace the charcoal filter.
How to Clean the Filter
Required Materials
- Mild soap and water: This is recommended by KitchenAid for cleaning the grease filter.
- Dishwasher (optional): Some grease filters can be placed in the dishwasher for additional cleaning.
- Soft cloth or sponge: This is for gently scrubbing the filter.
Step-by-Step Cleaning Process
- Unplug the microwave: Always start by unplugging the microwave to avoid electrical issues.
- Remove the grease filter: Slide the filter away from the tab area and drop it out.
- Clean the grease filter: Use mild soap and water to clean the filter, gently scrubbing it with a soft cloth or sponge.
- Rinse and dry: Rinse the filter thoroughly and let it dry completely before reinstalling it.
- Reinstall the grease filter: Place one end of the filter into the opening opposite the tab area, swing up the other end, and slide it toward the tab area.
Common Mistakes to Avoid
- Using harsh cleaning agents: Always use mild soap and water. Avoid using abrasive cleaners or chemicals that can damage the filter.
- Ignoring the manufacturer’s recommendations: Always refer to the Owner’s Manual for specific cleaning instructions and recommendations for your microwave model.
- Not cleaning the filter regularly: Regular cleaning helps maintain the efficiency of the microwave and keeps your kitchen air clean.
- Not replacing the charcoal filter: The charcoal filter cannot be cleaned and should be replaced about every 6 months or as prompted by the filter status indicator.
Conclusion
Cleaning the filter of a KitchenAid microwave is a simple yet essential maintenance task. Regular cleaning and replacement (in the case of charcoal filters) will ensure your microwave operates efficiently and contributes to a cleaner kitchen environment. Always refer to the Owner’s Manual for specific instructions related to your microwave model.
By following this comprehensive guide, you can ensure the longevity of your KitchenAid microwave and enjoy a more efficient and pleasant cooking experience.
Frequently Asked Questions
What is the purpose of the grease filter in my KitchenAid microwave?
The grease filter in your KitchenAid microwave captures grease and other particles that are produced during cooking. This prevents these particles from circulating in the air and damaging other parts of the microwave.
Can I use my dishwasher to clean the grease filter?
Yes, some grease filters of KitchenAid microwaves are dishwasher-safe. However, you should always refer to your Owner’s Manual to confirm if your specific model allows for this cleaning method.
How do I know if my charcoal filter needs to be replaced?
The filter status indicator on your KitchenAid microwave will notify you when it’s time to replace the charcoal filter. Additionally, if you notice reduced airflow or lingering odors, it may be time to replace the charcoal filter. The charcoal filter should generally be replaced every 6 months or as recommended by the manufacturer.
Can I use any kind of soap to clean the grease filter?
It’s recommended to use a mild soap for cleaning the grease filter. Avoid using abrasive cleaners or chemicals as they can damage the filter. Always follow the manufacturer’s cleaning instructions.
Can I run my KitchenAid microwave without the filter?
It’s not recommended to run your KitchenAid microwave without the filter. The filter helps capture grease and other particles, protecting the microwave’s internal components and maintaining the quality of the air in your kitchen.

