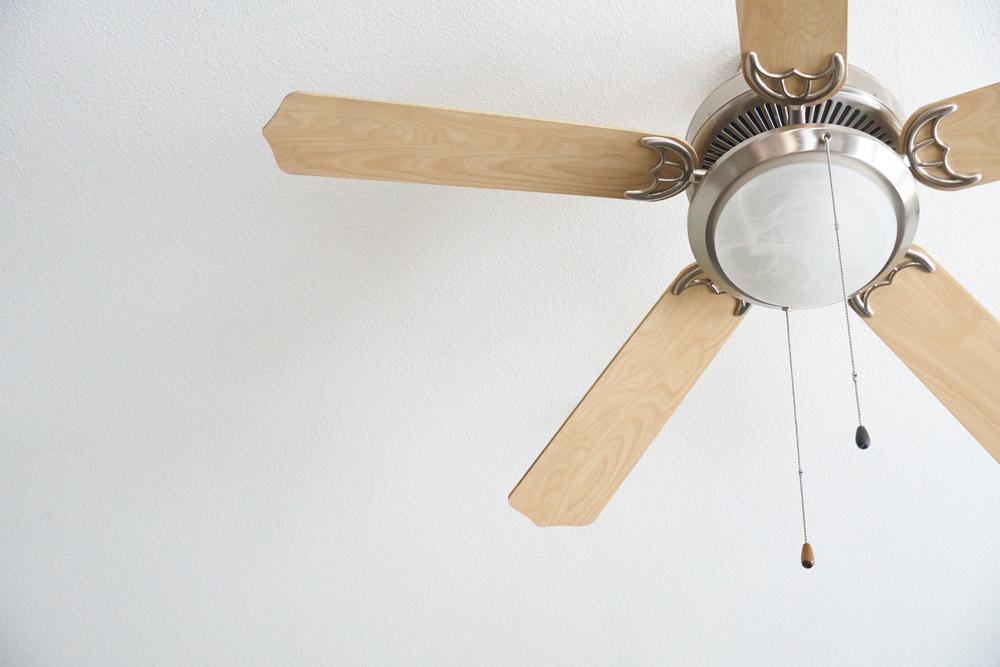
Adding a ceiling fan to an existing light switch can seem like a daunting task, especially if you’ve never done it before. However, with the right tools and guidance, it can be an achievable DIY project. This comprehensive guide will walk you through the entire process, from gathering the necessary tools to troubleshooting common issues that may arise during the installation. Let’s get started!
To add a ceiling fan to an existing light switch, start by turning off the power at the main electrical panel. Remove the existing light fixture and install the fan mounting bracket. Assemble the ceiling fan and hang it on the bracket. Then, connect the wires from the fan to the wires from the electrical box. Tuck the wires back into the box, and attach the fan canopy. If your fan has a light kit, install it according to the manufacturer’s instructions. Attach the fan blades, turn the power back on, and test the fan.
Essential Tools and Materials
Before you begin, gather the necessary tools and materials. You will need a ceiling fan (with or without a light kit), a ladder, wire cutters/strippers, a circuit tester/voltage detector, an adjustable wrench, pliers, mounting hardware, wire connectors, a downrod (if required), a screwdriver, a wrench set, a tape measure, a non-contact voltage tester, needle-nose pliers, and a nut driver. Remember to turn off the electrical power to the fan at the electrical panel before starting the installation.
Step-by-Step Installation Process
- Turn off the power: Always ensure safety first. Turn off the power to the circuit you’ll be working on at the main electrical panel.
- Remove the existing light fixture: Carefully remove the existing light fixture, disconnecting the wires and setting it aside.
- Install the fan mounting bracket: Attach the mounting bracket that comes with the ceiling fan to the electrical box in the ceiling. Make sure it’s securely fastened.
- Assemble the ceiling fan: Follow the manufacturer’s instructions to assemble the ceiling fan, including attaching the fan blades and the motor housing.
- Hang the ceiling fan: Lift the assembled fan and hang it on the mounting bracket. Some fans have a hook or a hanging mechanism to make this step easier.
- Wire the ceiling fan: Connect the wires from the ceiling fan to the wires from the electrical box. This may involve connecting the fan’s black wire to the switch’s black wire and the fan’s blue wire (for the light kit) to the switch’s red wire.
- Tuck the wires: Carefully tuck the connected wires back into the electrical box.
- Attach the fan canopy: Secure the fan canopy to the mounting bracket, covering the electrical box and connections.
- Install the light kit: If your ceiling fan comes with a light kit, follow the manufacturer’s instructions to install it.
- Install the fan blades: Attach the fan blades to the motor housing, following the manufacturer’s instructions.
- Turn the power back on: Turn the power back on at the main electrical panel and test the fan to ensure it’s working properly.
Safety Measures
Working with electricity can be dangerous, so it’s essential to take safety measures during the installation process. Always turn off the power at the circuit breaker and use a voltage tester to confirm that the power is off before starting the installation. Wear rubber-soled shoes and use tools with rubber handles to protect yourself from electrical shock.
Troubleshooting Common Issues
If you encounter any issues during the installation process, here are some troubleshooting tips:
- Fan doesn’t turn on: Check the circuit breaker and fuse to ensure the power is on. Ensure all wires are properly connected and secured with wire nuts.
- Fan wobbles: Check that all fan blade brackets are screwed securely to the motor and that all blades are balanced.
- Fan makes noise: Check that all screws connecting the fan to the ceiling are tight. Check the fan blades and blade brackets for any signs of damage.
Energy Efficiency Considerations
When adding a ceiling fan to an existing light switch, it’s important to consider the fan’s energy efficiency. Look for an ENERGY STAR certified model, which uses advanced technologies to move air 20% more efficiently than standard models. Also, consider the fan’s motor type, blade design, lighting, controls, and usage to ensure it’s energy-efficient and cost-effective.
Best Ceiling Fans for Installation
There are several types of ceiling fans that are best suited for different installations, including Honeywell Palm Island 52-Inch Ceiling Fan, Laurel Foundry Modern Farmhouse 52-Inch Strasser Fan, Minka Aire 52-Inch Light Wave Ceiling Fan, and Hunter Cassius Outdoor 52-Inch Ceiling Fan. Consider factors such as the size of the room, the fan’s damp/wet rating, the number of blades, the style, and the color when choosing a ceiling fan.
In conclusion, adding a ceiling fan to an existing light switch is a manageable project with the right tools, knowledge, and safety precautions. Always remember to consult a professional if you’re unsure about any part of the installation process. Best of luck with your project!
Frequently Asked Questions
Can I install a ceiling fan on any type of ceiling?
Not all ceilings are suitable for ceiling fan installations. For instance, vaulted or sloped ceilings may require a special mount or downrod to ensure the fan hangs properly. Always check the manufacturer’s instructions for specific installation requirements.
Do I need a special light switch for a ceiling fan?
No, you don’t necessarily need a special switch. However, having a dual switch can be beneficial if your ceiling fan includes a light kit. A dual switch allows you to control the fan and light separately.
What is the ideal height for a ceiling fan from the floor?
The ideal height for a ceiling fan from the floor is approximately 8 feet. If you have a high ceiling, you may need a downrod to lower the fan to the optimal height.
What should I do if the fan is still wobbling after checking the blades and brackets?
If your fan is still wobbling after checking the blades and brackets, you might need to balance the fan. This involves adjusting the weight distribution on the fan blades using a balancing kit, which is often included with the fan.
How do I know which size of ceiling fan to choose?
The size of the fan you choose depends on the size of the room. As a general rule, a room up to 75 square feet requires a fan with a diameter of 36 inches, a room between 76 and 144 square feet requires a 42 to 44-inch fan, and a room over 144 square feet requires a fan that’s 52 inches or larger.


